Nowadays PC security is a hot topic and more and more persons pay much attention to safety. This is because viruses, malware attacks, and network threats always appear unexpectedly, and sometimes privacy is easy to leak. Once your PC becomes a target of hackers or someone, the loss is irretrievable.
To protect your PC maximumly, firstly you need a safe Windows operating system. Windows 11, a brand OS, has been released by Microsoft. It is a more secure operating system compared to Windows 10. If you want to know much information about Windows 10 vs Windows 11 security, move to the next part.
Windows 10 VS Windows 11 Security: Windows 11 Is More Secure
Microsoft’s focus on security in Windows 11 is reflected in some key features and now let’s look at crucial security features to strengthen the defenses of Windows 11.
TPM (Trusted Platform Module)
To run Windows 11 on your PC, your machine needs to meet the system requirements of this new operating system, for example, 64GB or more space for Windows 11 installation, 4GB RAM, UEFI Secure Boot, graphics card compatible with DirectX 12 or later with WDDM 2.0 driver, TPM2.0, and more. To know much, refer to this post – Basic Windows 11 System Requirements for PCs & Laptops.
Among them, Windows 11 security requirements are TPM 2.0 and Security Boot. TPM, short for Trusted Platform Module, is a hardware device that is basically a secure micro-controller (a chip). It is designed to provide cryptographic functions, protect encryption keys, passwords, and credentials. It is difficult to breach this protection by attackers.
Since the announcement of the Windows 11 security requirement to TPM 2.0 support, the topic is a bit controversial. Although the TPM chip has been around for over a decade, it is taken seriously until now by device manufacturers and users.
In Windows 11, Windows Hello works with a TPM 2.0 chip to keep the log-in process secure. Besides, it is used in BitLocker for data protection. In addition, it is used to support the Secure Boot process to provide a better security environment and prevent or at least minimize threats.
If your PC is produced within the last five years, you may have a TPM chip with version 2.0 support on the motherboard. If you don’t know if there is a TPM 2.0 chip, follow the ways in this post – How to Check if Your PC Has TPM for Windows 11? How to Enable It.
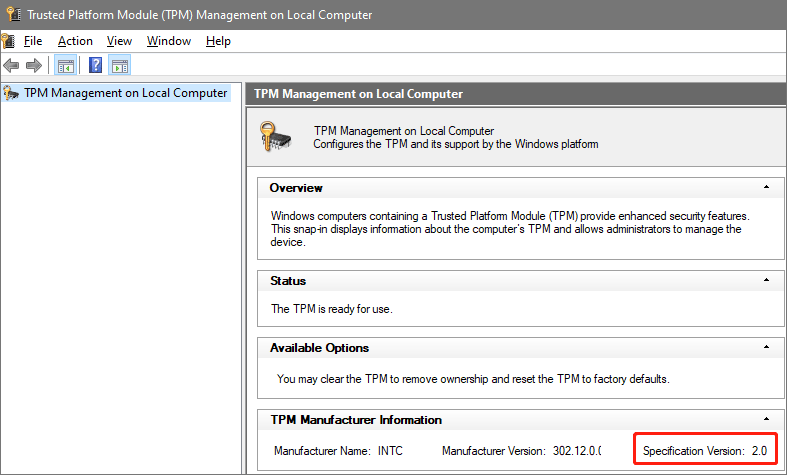
According to Microsoft, Windows 11 requires TPM 2.0 rather than 1.2 because of the security merits, especially the support for better cryptographic algorithms. All in all, the TPM 2.0 chip makes sure PC security to a large extent.
UEFI Secure Boot
UEFI Secure Boot is another Windows 11 security requirement. It makes sure the system boot with only code that is from a trusted source, for example, PC manufacturers, chipmakers, or Microsoft.
If the system is compromised before booting, all of Windows security tools, kernel, and protocols can be undermined completely. UEFI Secure Boot makes sure that won’t happen and guarantees the system integrity.
Virtualization-Based Security (VBS)
VBS is a Windows 11 security feature that is used to protect security solutions against exploits. It allows Windows 11 to create a secure system memory that is isolated from unsafe code. This virtual secure mode is separate from the rest of the operating system and it is created using Windows hypervisor.
VBS is not a new feature in Windows 11 and it has been around for years in Windows 10. By default, this feature isn’t used. But this is changed. According to Microsoft, upgrading to Windows 11 doesn’t need VBS but its security advantage is very important. This company asserts it will enable VBS on most new PCs next year.
Related article: How to Disable VBS in Windows 11 to Boost PC Gaming Performance
Hypervisor-Protected Code Integrity (HVCI)
HVCI is a feature of VBS that is used to protect the system memory created by VBS against unsigned or questionable drivers and software. In detail, HVCI checks all kernel-mode drivers and binaries before booting and prevents unsigned drivers & system files from getting into memory, which strengthens code integrity policy enforcement. Due to the use of VBS and HVCI, Windows 11 is more secure than Windows 10.
These four Windows 11 security features are worth mentioning here and they indicate Windows 11 is more secure than Windows 10. In addition, there are some other Windows 11 hardware security features and you can refer to our previous post to learn more – Get To Know About The Advanced Hardware Security Of Windows 11.
Windows 11 Security Settings You Should Know
In addition to Windows 11 security features, you can also focus on its security settings. As the most secure operating system, you should make the most of it to keep your computer safe.
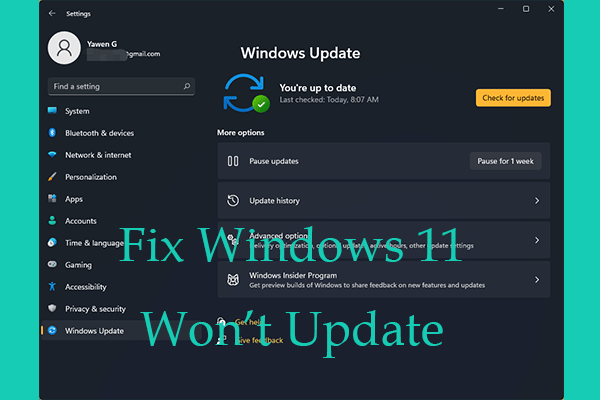
Keep Windows 11 Updated
You know, good security starts with the software update. Microsoft keeps releasing updates of Windows 11 to fix some known issues and install new security patches to strengthen PC security. Thus, it is crucial to keep the system updated.
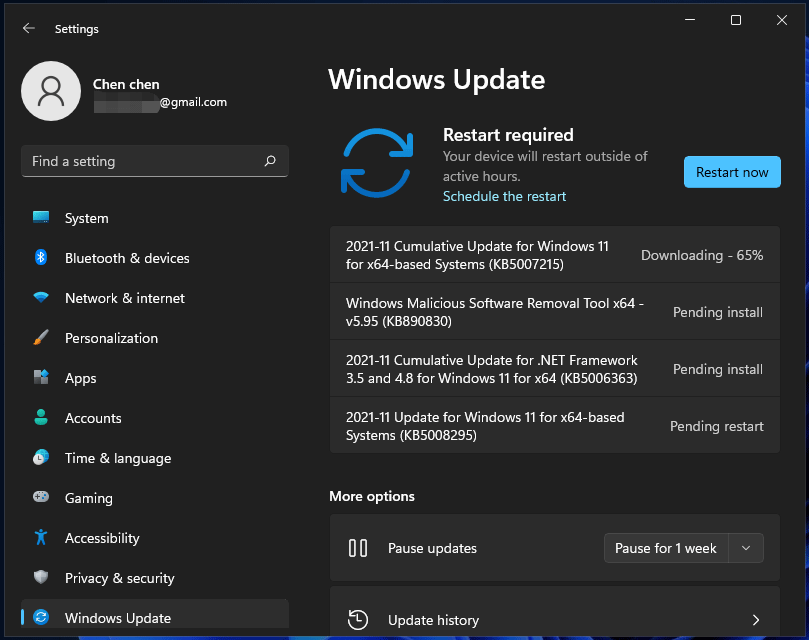
Step 1: To keep Windows 11 updated, go to open the Windows Settings app by clicking the Start button and choosing Settings.
Step 2: Click Windows Update on the left pane and check for updates. If Windows can find some available updates, download and install them on your PC.
Check Your Sign-in Option
Microsoft provides multiple sign-in options in Windows 11. Compared to a password, facial recognition or fingerprint recognition is more secure. You can choose to log in to Windows 11 using one of these two sign-in ways to replace the password login.
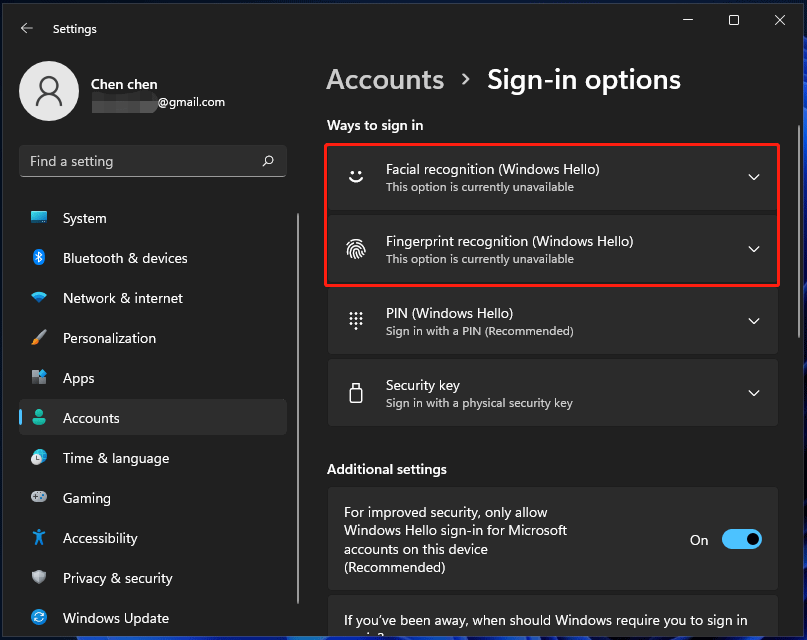
Sign out When Away
If you are away, sign out the Windows operating system. Besides, use the Dynamic lock feature to allow Windows to automatically lock your device when you’re away. This can be found on the Sign-in options page.

Run Windows Security
Run a Malware Scan for Real-Time Protection
To prevent your PC from viruses, malware, and some other threats, you should run an antivirus program to scan for the system and remove threats. In Windows 11, there is a built-in antivirus software to offer protection for your computer against threats. This program is Windows Defender, also known as Windows Security.
To run a malware or virus scan, you should follow the steps below:
Step 1: Launch Windows Settings by clicking Start > Settings.
Step 2: Click Privacy & security > Windows Security and click the Open Windows Security button.
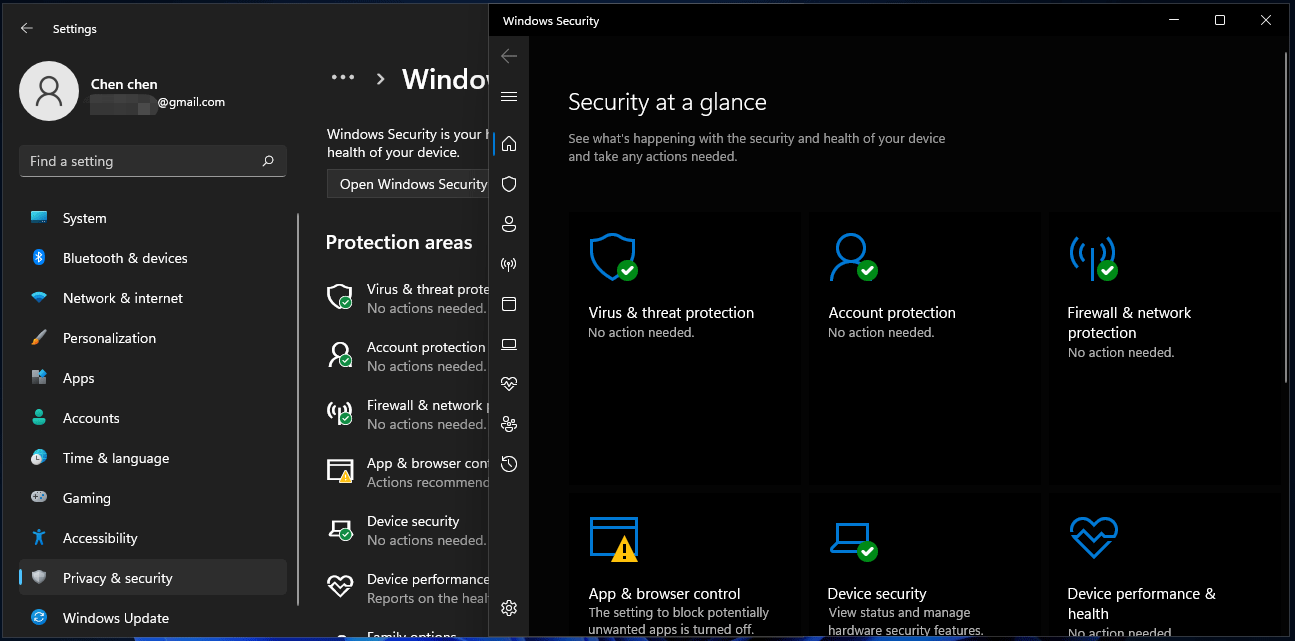
Step 3: To perform a scan, click Virus & threat protection > Quick scan. If you want to perform a full scan, click Scan options and check the box of Full scan, and then click Scan now.
In addition to real-time protection against viruses and threats, you can use Windows Security to perform account protection, firewall & network protection, and app & browser control. Just click each section on the Windows Security page and customize settings based on your needs.
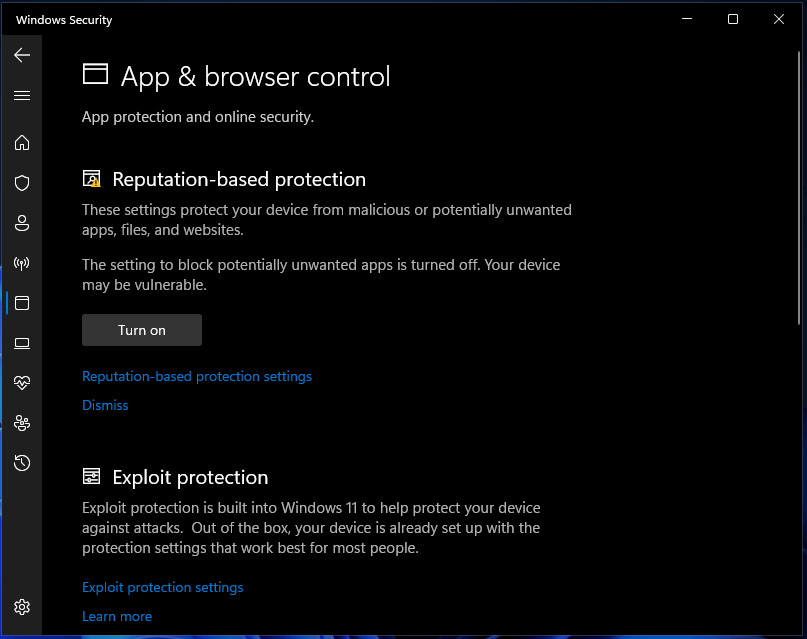
Keep Safe While You’re Online
To stay safe while online, you can click App & browser control and enable Reputation-based protection. This option helps to protect your PC from malicious or potentially unwanted apps, files, and websites. To mitigate the influence of various remote hacking attacks, make the best of Exploit protection.
Check out Device Security
Windows Security has a section called Device security that can be used to view status and manage hardware security features. If the PC has any issues with hardware including TPM and Secure Boot process, they will be listed. You need to take measures to protect the Windows OS and the saved data.
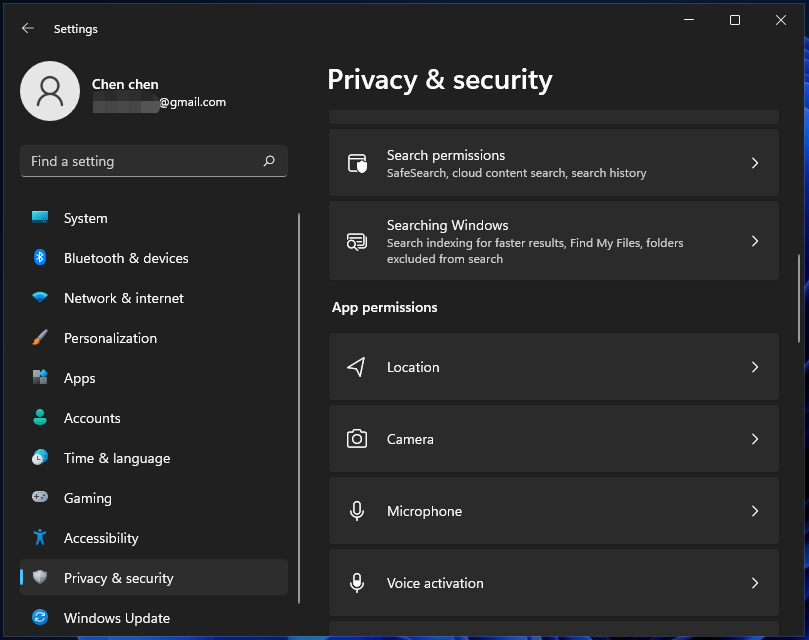
Manage Application Permissions
In Windows 11, you can decide which permissions should be used by applications. Just go to Settings, Privacy & security, and scroll down to view permissions. Click each one like Location, Microphone, Camera, Voice activation, and more, and then configure the permission settings based on your situation.
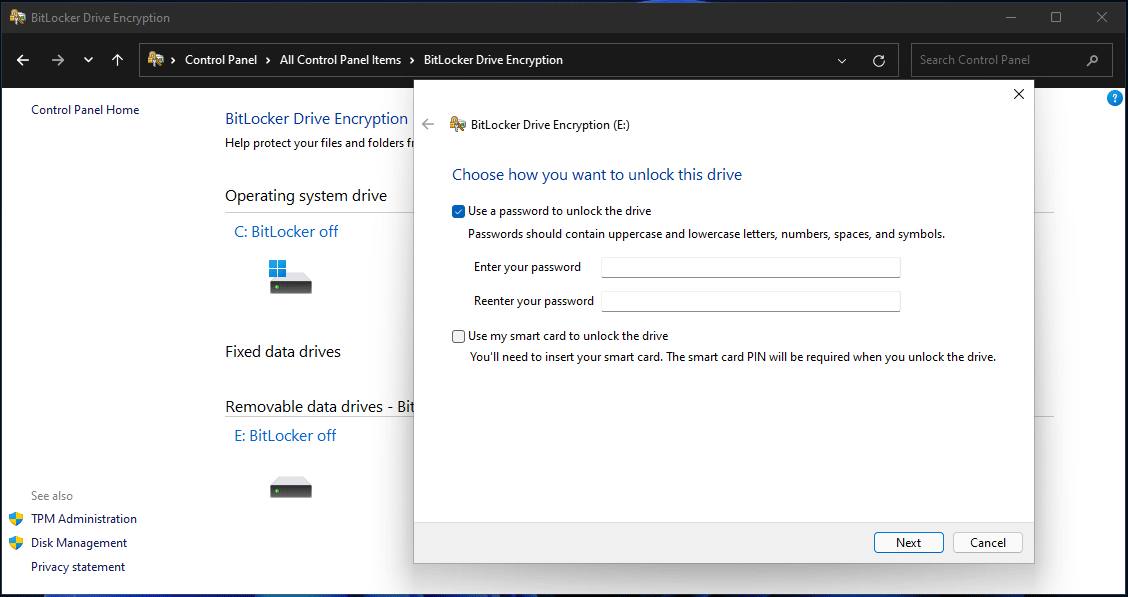
Encrypt Your Disk for Data Protection
If you don’t want others to access your disk data, you can encrypt the hard drive using BitLocker. Go to turn on BitLocker in Windows 11 and choose a password to unlock the drive. If someone doesn’t have the credential, he cannot access the encrypted drive.
Here are two related articles for BitLocker drive encryption:
- Guide – How to Turn on/Enable or Set up BitLocker in Windows 11?
- How to Password Protect USB Drives in Windows 11?
Back up Windows 11
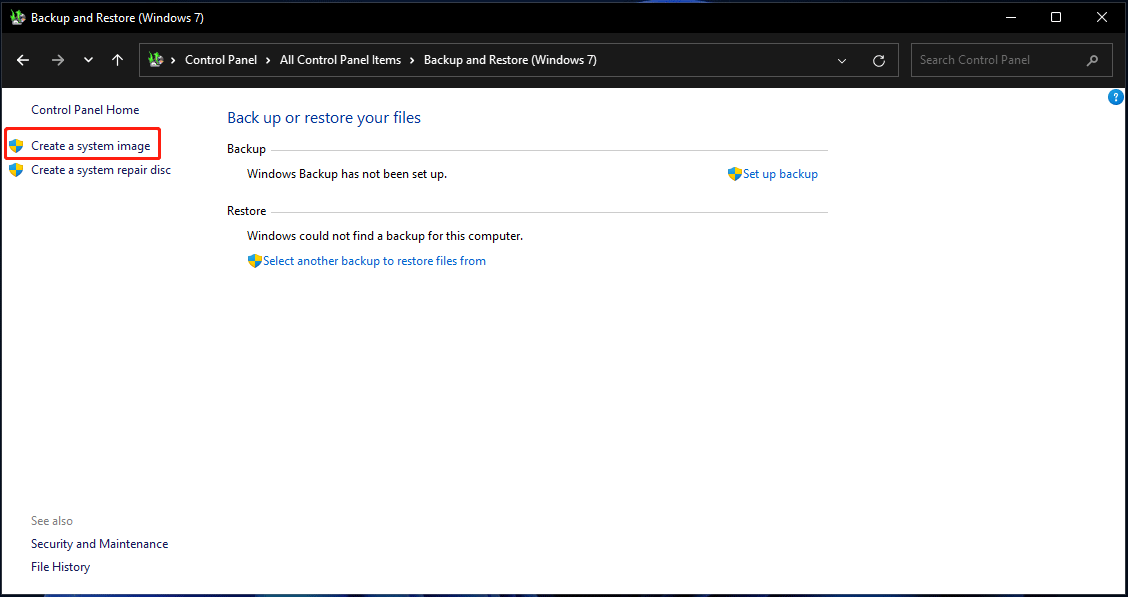
Virus attacks, system crashes, mistaken operations, disk errors, etc. may lead to unexpected data loss. To keep disk data safe, creating a backup for your crucial files is very necessary. In Windows 11, you can choose to back up files to OneDrive, or use File History or Backup and Restore to create file backups.
Besides, system breakdown is a common issue. To restore the PC to an earlier state, creating a system image and restoring the OS from the system image is important. To know much information about Windows 11 backup, refer to our previous post – How to Back up Windows 11 (Focuses on Files & System)
These are useful Windows 11 security settings you can configure. To protect your PC, follow this part to customize your PC. You can share them on Twitter to let your friends know.
Suggestion: Use MiniTool ShadowMaker for Windows 11 Backup
In addition to using Windows 11 backup tools for system backup and file backup, you can run a third-party backup software. Here, we recommend using MiniTool ShadowMaker, an all-around PC backup software for Windows 11/10/8/7.
This program can be used to back up your files, folders, disks, partitions, and Windows operating systems to an external hard drive, USB hard drive, NAS, SSD, etc. Besides, you can run MiniTool ShadowMaker to sync files or folders to another location for data protection and clone a hard drive to another disk for disk backup or upgrade.
In addition, this software supports PXE boot, creating a bootable drive for system recovery, incremental/differential backup, or automatic backup. All in all, you can run it to protect your PC well. To use it, you need to download and install it on your PC.
MiniTool ShadowMaker TrialClick to Download100%Clean & Safe
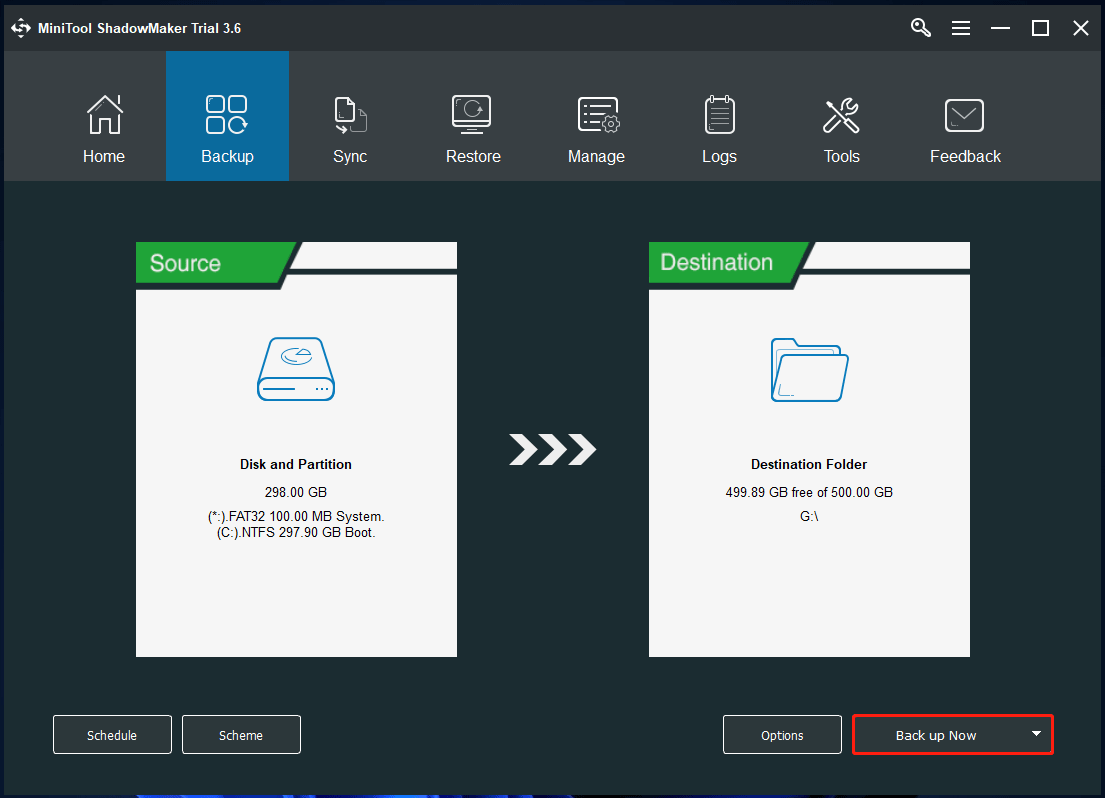
Step 1: Launch MiniTool ShadowMaker in Windows 11.
Step 2: Go to the Backup page and you can find this program backs up the system by default. To create a system image, you only need to choose a destination. If you want to back up files, go to Source and choose items for backup.
Step 3: After specifying the backup source and destination, click the Back up Now button to start the backup immediately.
Should You Upgrade to Windows 11?
From the above parts, you know Windows 11 is more secure than Windows 10 and you can make some security settings for PC protection. Then, here comes a question: should you upgrade to Windows 11? In terms of security, you can install Windows 11.
But currently, Windows 11 is not stable and it sucks in some aspects. We suggest that you should wait some time until it is enough stable. Of course, if you are urgent, you can perform Windows 11 update now. Note that you should make sure your device is compatible with Windows 11 (meet the system requirements).
When everything is ready, you can follow these methods in this post – How to Upgrade Windows 10 to Windows 11? See a Detailed Guide to upgrade Windows 10 to Windows 11.
Final Words
That’s all the information about Windows 11 security features and settings. If you are running Windows 11, make the most of these features and settings for PC protection. If you have any other ideas, you can leave a comment below or contact [email protected] to let us know.
About The Author

Position: Columnist
Vera is an editor of the MiniTool Team since 2016 who has more than 7 years’ writing experiences in the field of technical articles. Her articles mainly focus on disk & partition management, PC data recovery, video conversion, as well as PC backup & restore, helping users to solve some errors and issues when using their computers. In her spare times, she likes shopping, playing games and reading some articles.