Filter Photos on Mac
When recovering photos by using MiniTool Mac Photo Recovery on Mac, users often encounter the situation where a great number of photos are scanned by the photo recovery software. Under this situation, if users want to find desired photos quickly and accurately, they need to use the function “Filter” to filter photos. Next, we will introduce how to filter photos on Mac with this function.
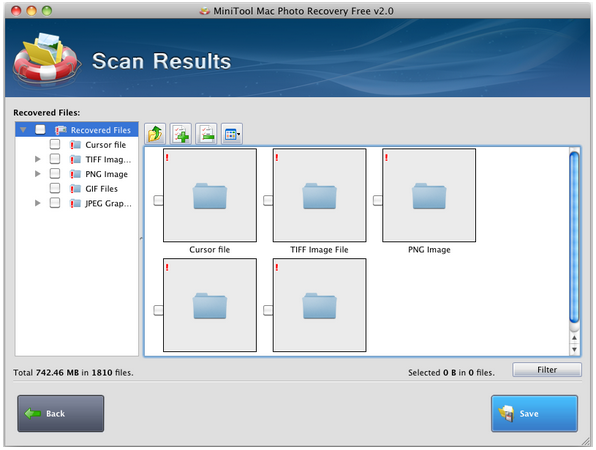
After photos are scanned, users will see the following interface:

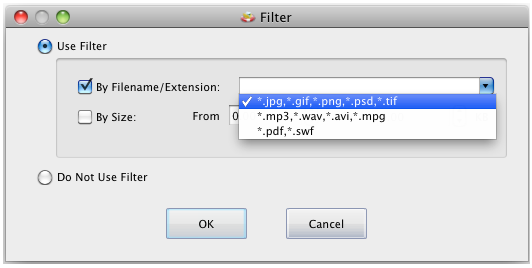
Here, users can see lots of digital media files. At this time, to filter photos, users need to click “Filter” button to set scanning conditions:

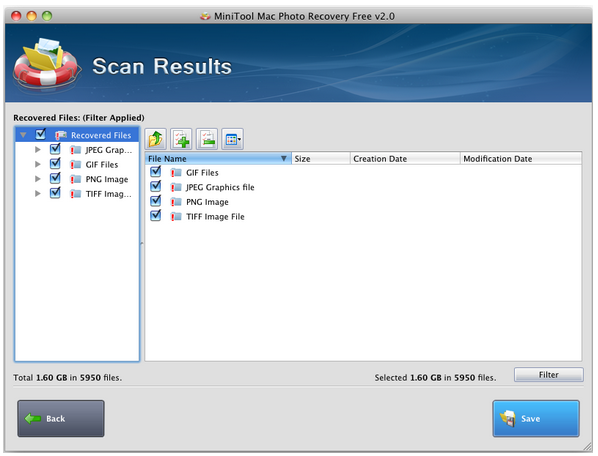
In this interface, users have 2 choices to filter photos on Mac. One is to filter photos by filename/extension, and the other is to filter photos by size. After making a suitable choice, they need to click “OK” button to go back to the following interface:

Now, we can see photos meeting specified conditions have been scanned out. At this time, users just need to check photos which need recovering and click “Save” button to save needed photos to a safe partition. After that, Mac photo recovery is finished thoroughly by this photo recovery software.