In Manage, you can see all backup tasks and their status. If you set a customized task name, it will be much easier to access the desired task. Put the cursor to your task, it will display the full path of the source folder and destination folder. Also, this page provides some features to manage old backups and incompleted tasks.
For a normal backup task, it is marked with a green icon; while for the failed or incomplete task, it is marked with a red icon.
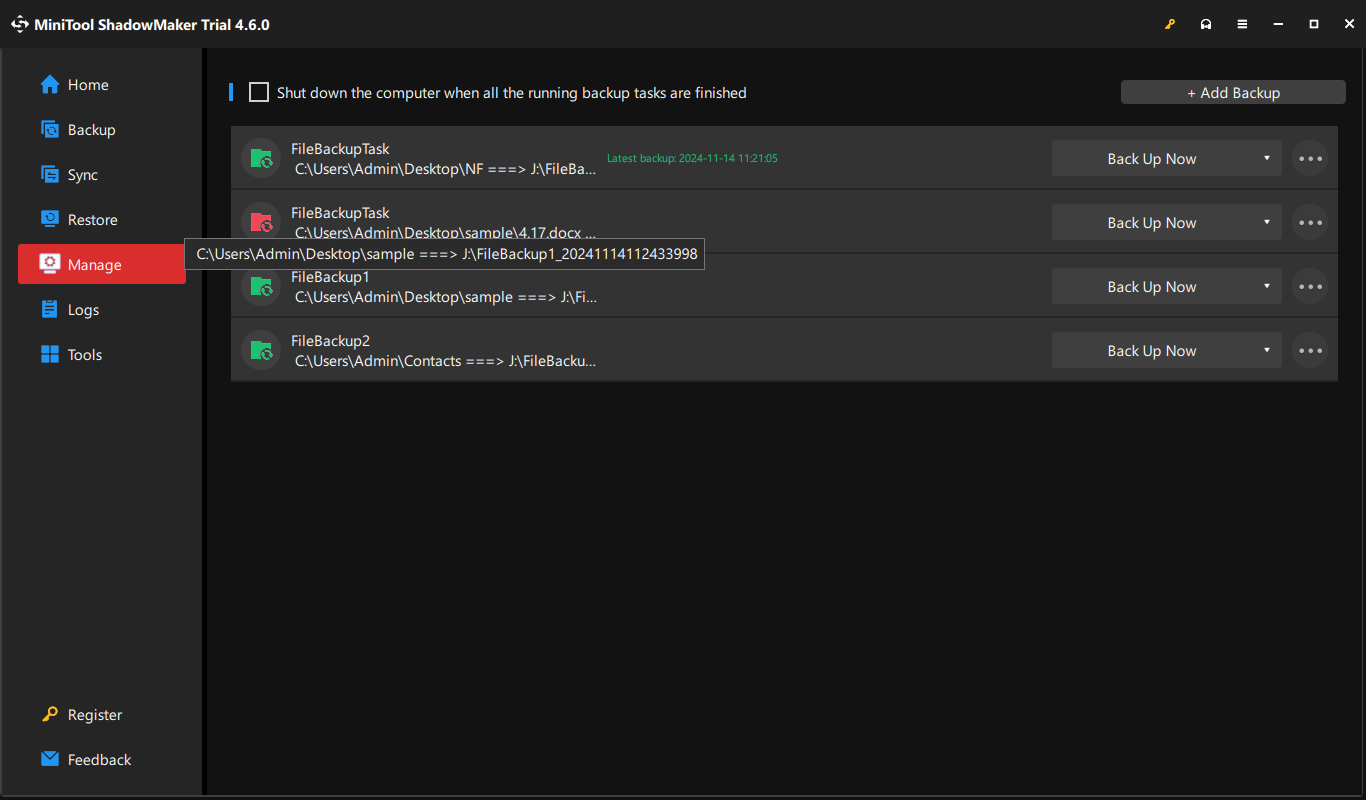
Manage Backup Image
Check or uncheck the Shut down the computer when all the running backup tasks are finished option according to your needs.
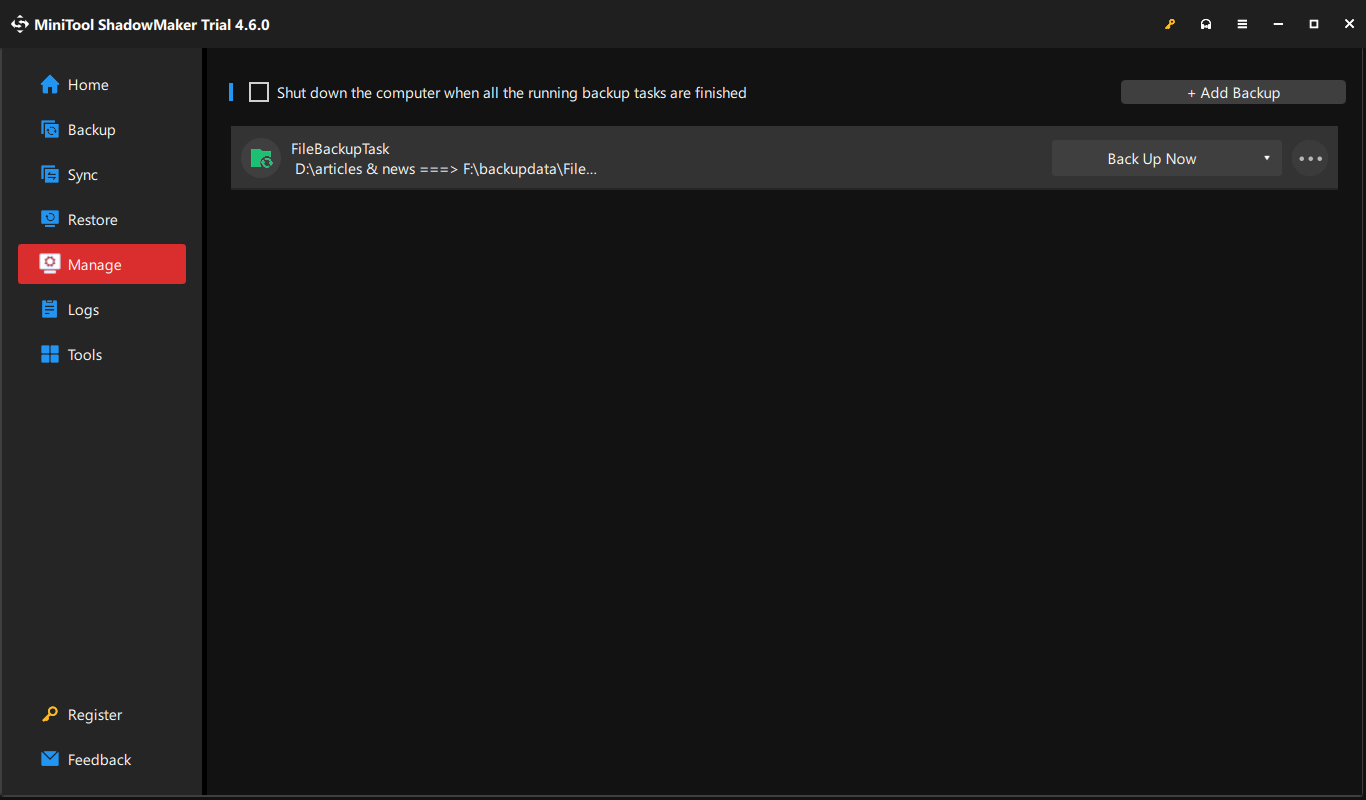
Add Backup: if the target backup task is not shown here, you can hit this button to pick it out from your computer and make it display here manually.
Back Up Now: hit this button to continue the backup task.
Hit the inverted triangle icon and you will get a drop-down menu like this:
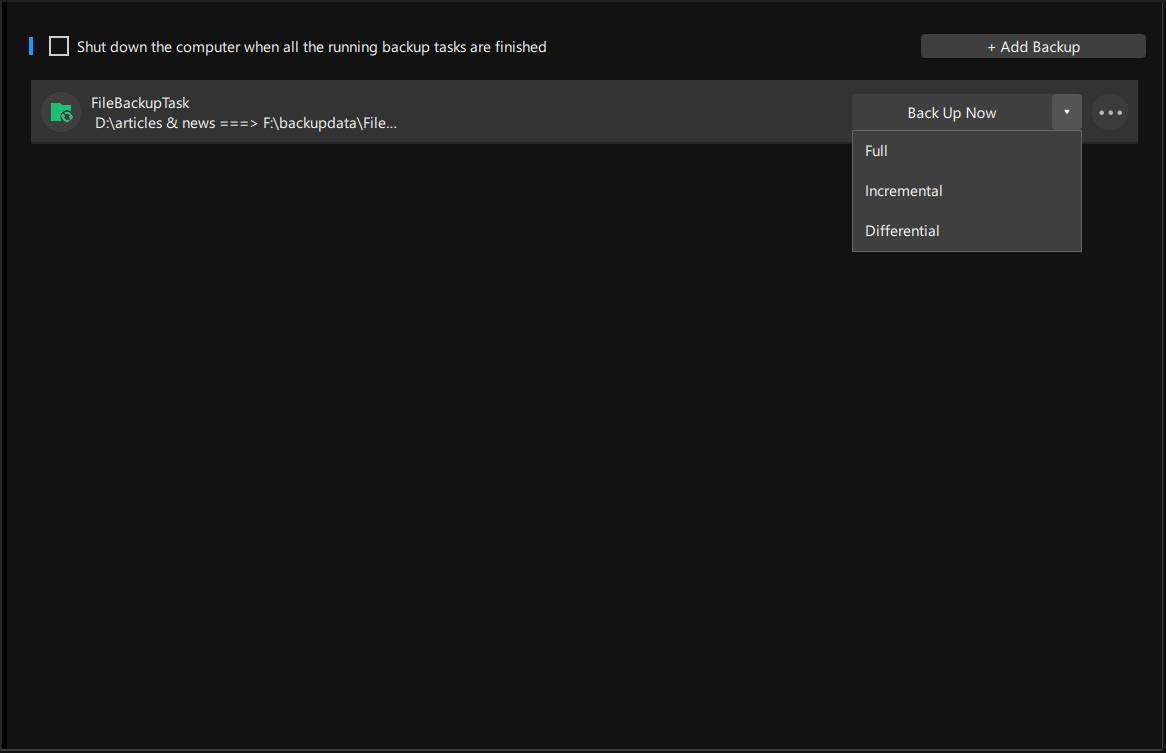
Full: choose this option to create a full backup of your task on the selected disk or partition.
Incremental: choose this option to create incremental backups on the basis of the last backup.
Differential: choose this option to create differential backups on the basis of the last full backup.
When you hit the three-dot icon, you will get a drop-down menu like this:
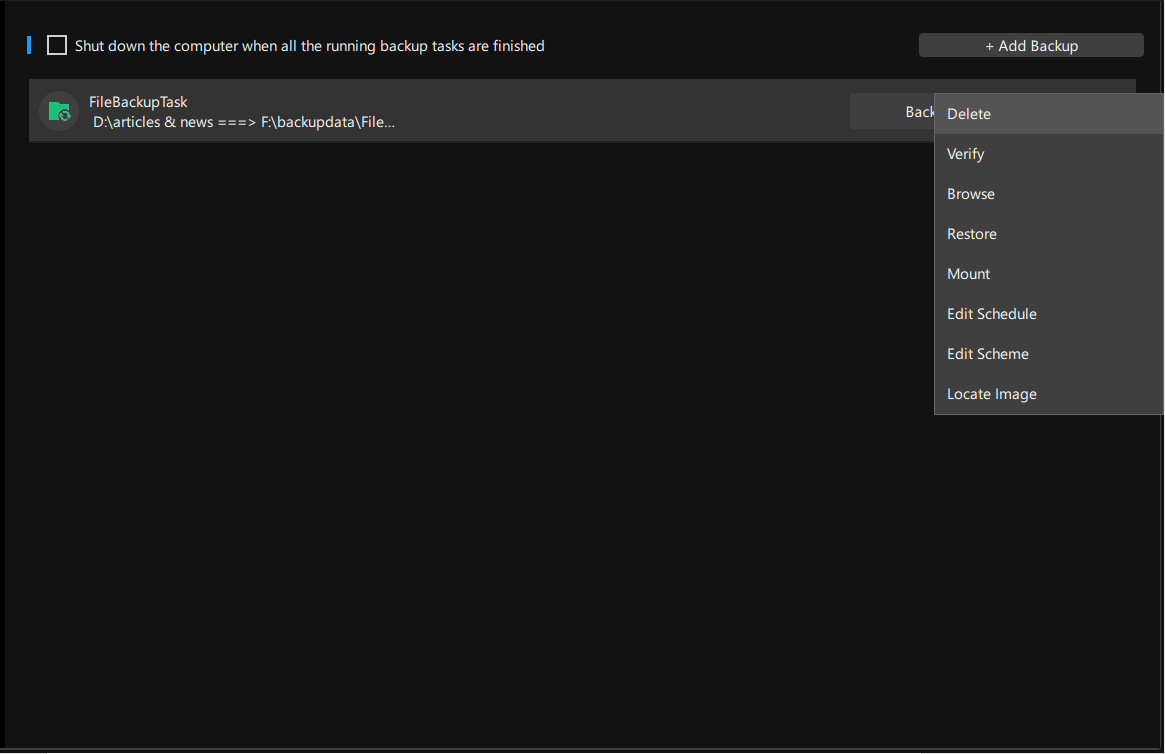
Delete: use this option to delete the selected backup from this interface.
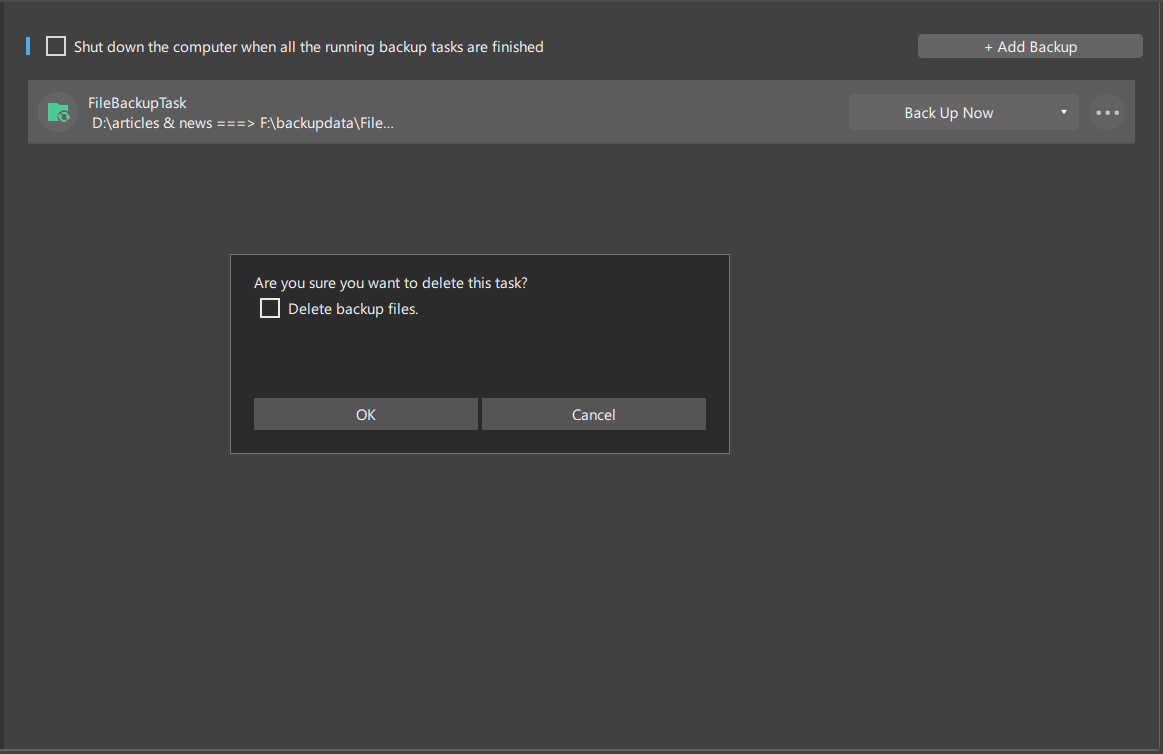
Tick the Delete backup files option to delete the backup image from the target drive, or it just deletes the task in this page.
Verify: click this option to verify the integrity of the selected backup.
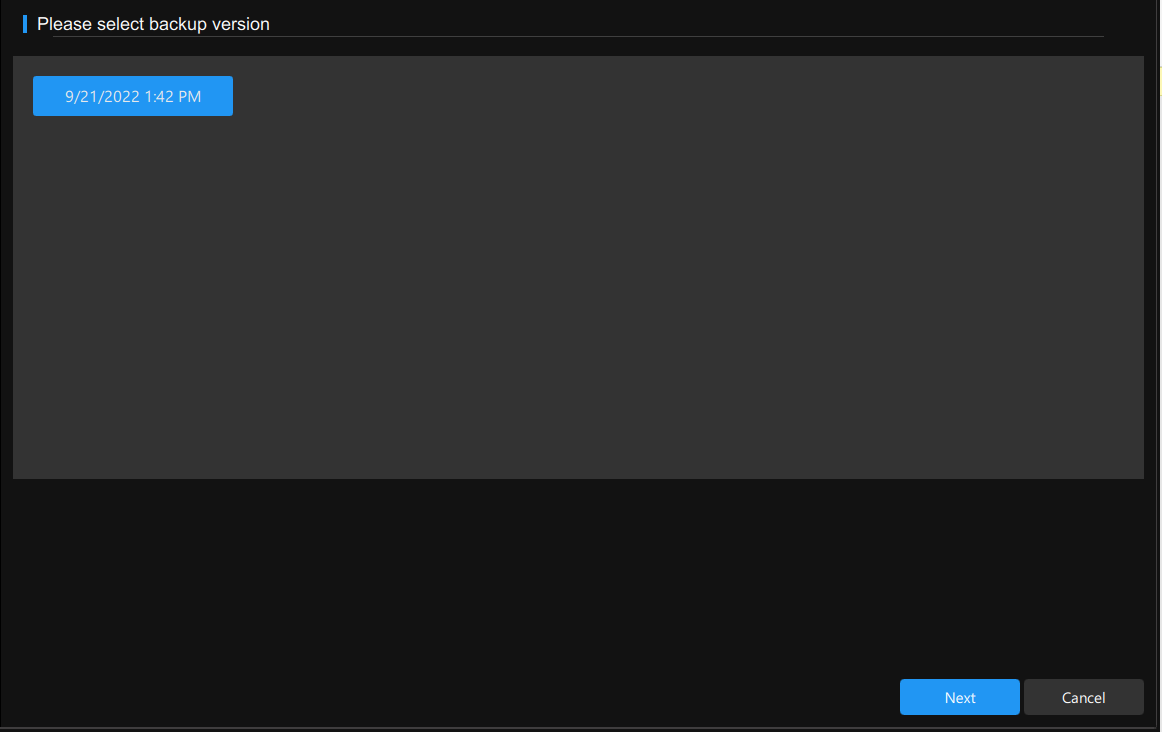
Step 1. Hit Verify and you will enter this interface. Select the target backup version and press Next.
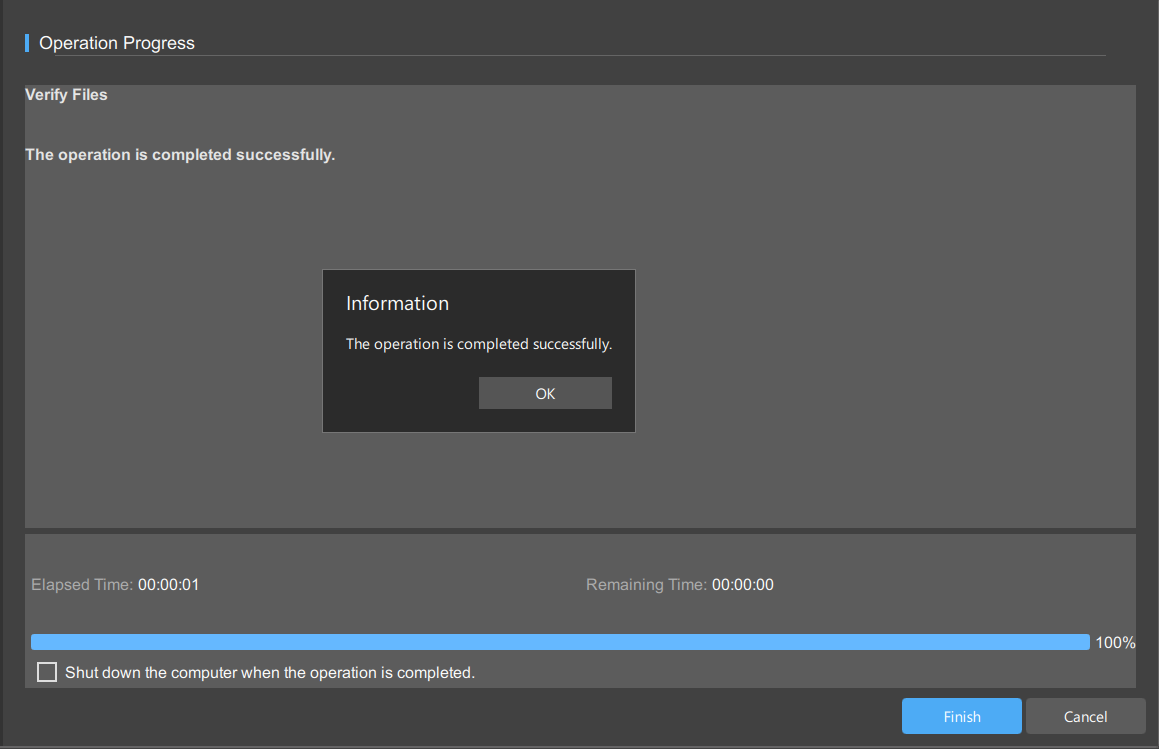
Step 2. The software will start to verify the selected image file automatically. When this process is completed, click OK and Finish to exit this interface. If the item(s) you choose to back up is large, you can hit the Shut down the computer when the operation is completed option.
Browse: click this option to browse and restore the selected files.
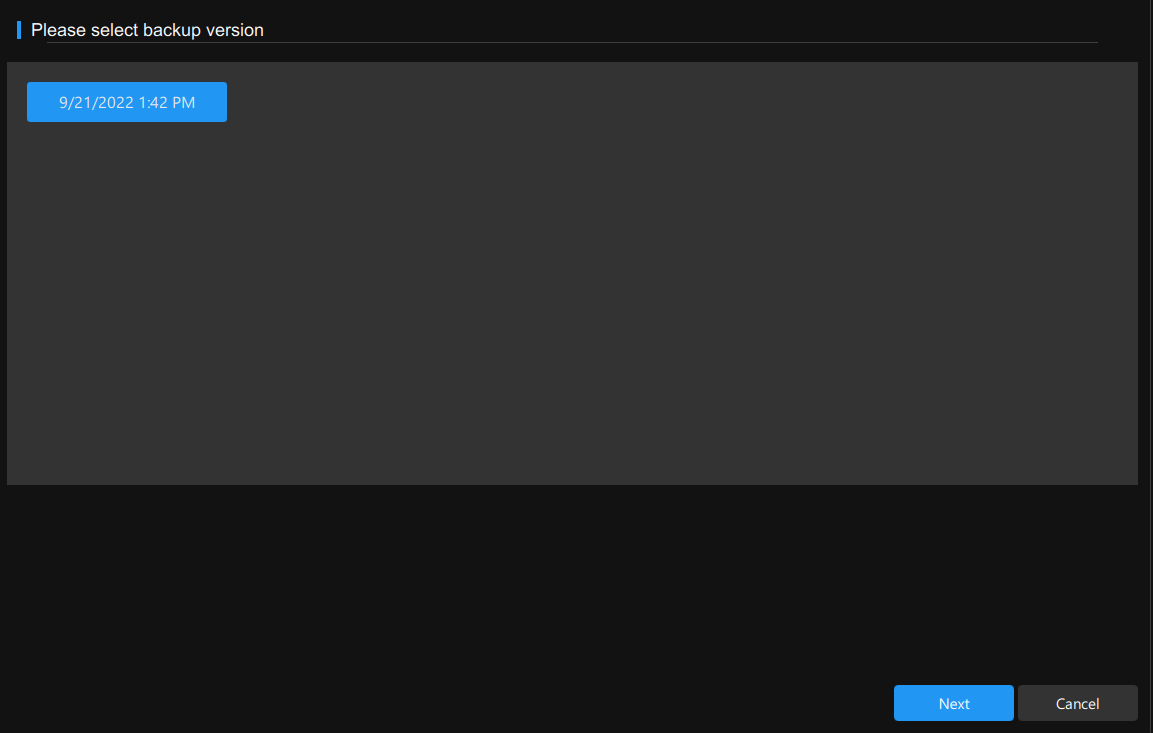
Step 1. After hitting Browse, you will see the interface as follows. Select the backup version you want to browse and hit Next.
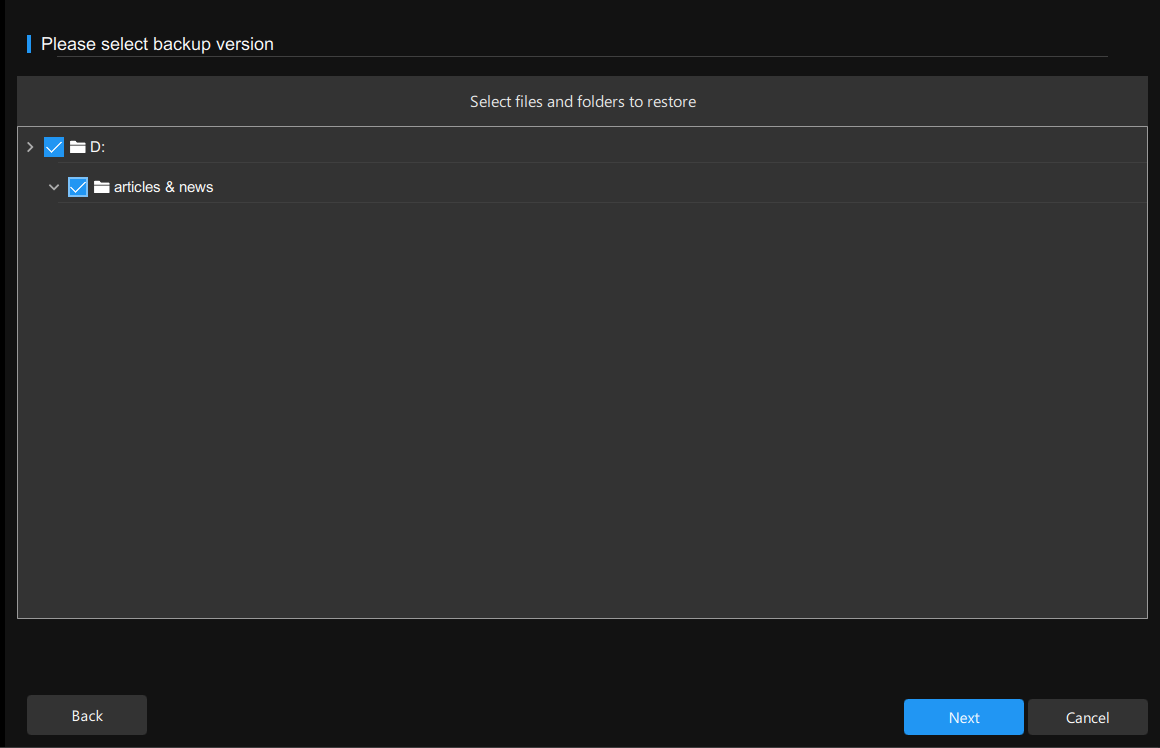
Step 2. Expand the drive and your backup source to select files/folders to restore and hit Next.
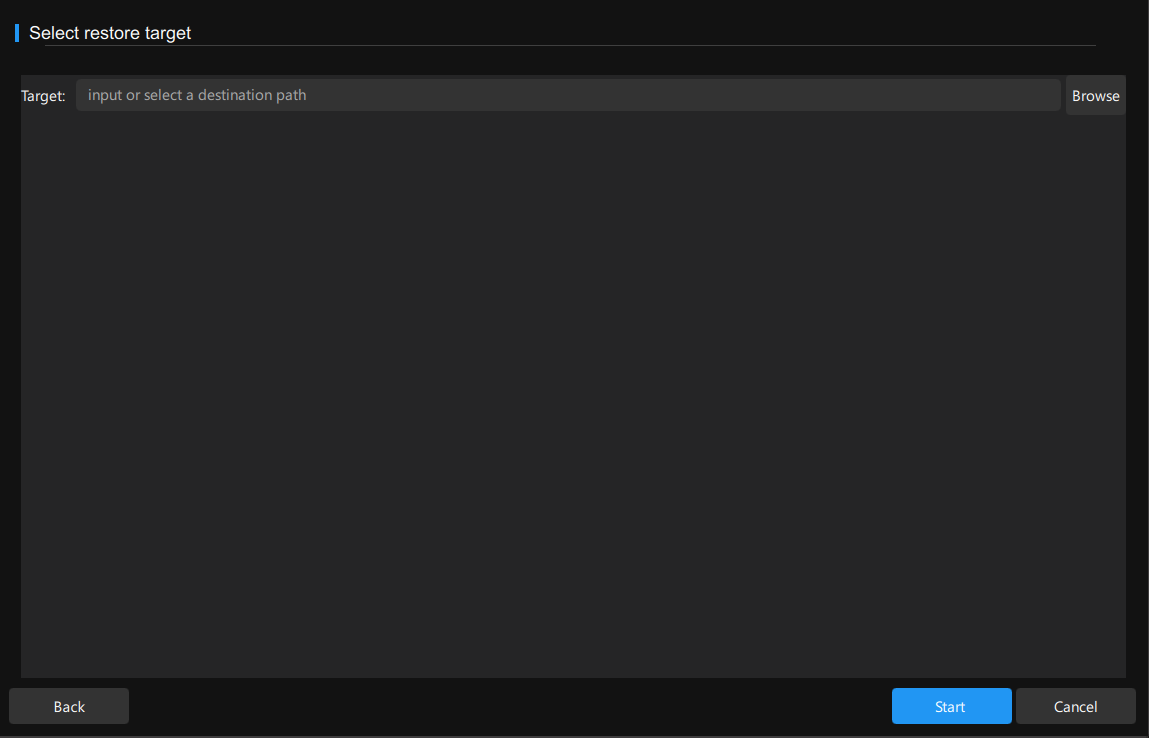
Step 3. Then, you can click Browse to select a destination path.
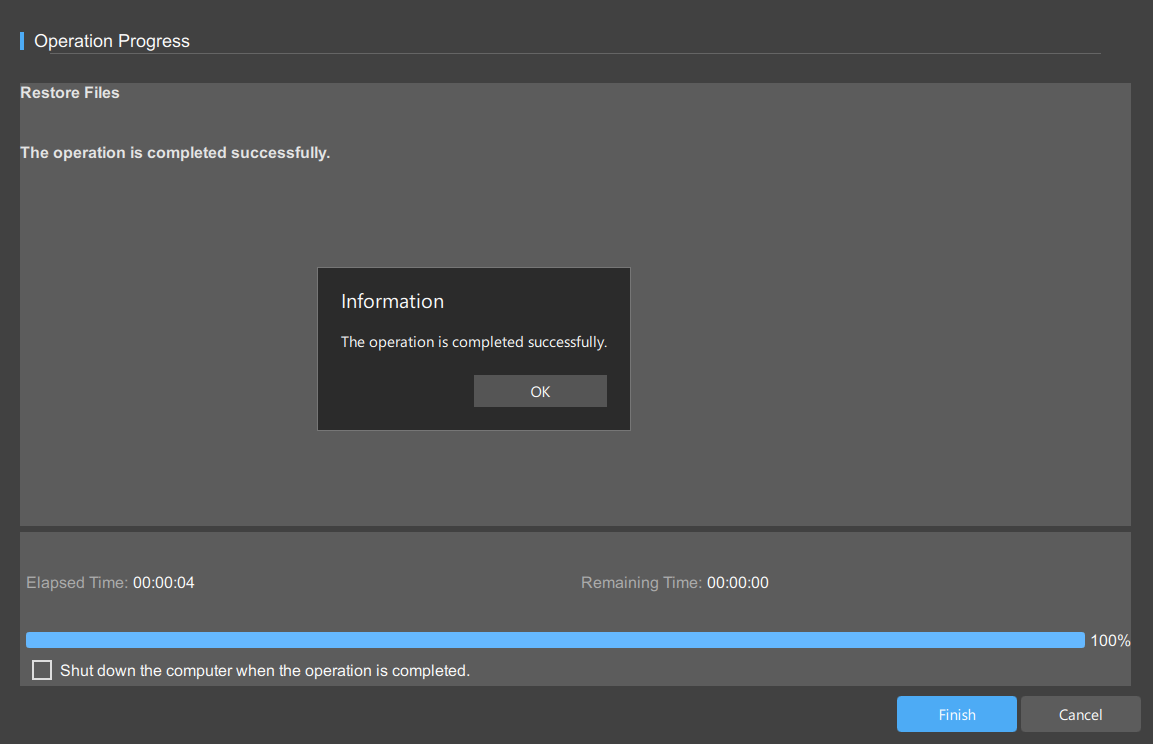
Step 4. Click Start and then it will start to restore files to the destination path you choose. Hit OK and Finish to quit this interface. During the process, you can also check the Shut down the computer when the operation is completed option according to your needs.
Restore: use this option to choose the volumes to restore from the selected backup file. For more detailed steps, please go to the Restore part.
Mount: click this option to mount the selected backup. MiniTool ShadowMaker supports mounting partition image, system image and disk image. After mounting, there will be a new partition in Windows Explorer so that you can quickly access the drive to view backup files inside.
It is noted that file backup task doesn’t support the mount operation.
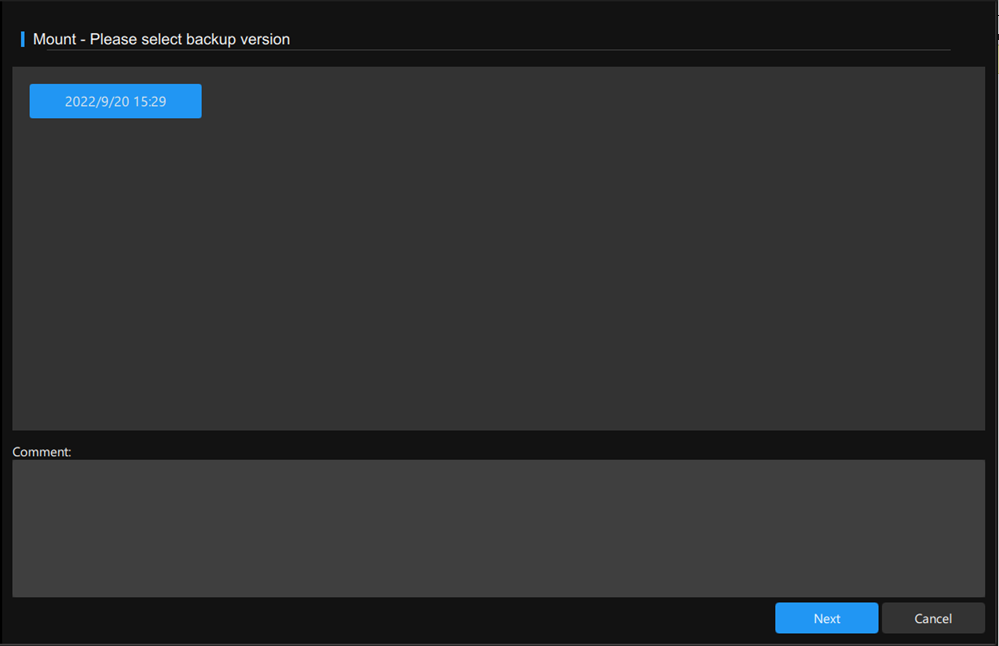
Step 1. Click Mount, and you will enter the following interface. Choose the target backup version and hit Next.
Step 2. Choose a partition to be mounted and click Mount.
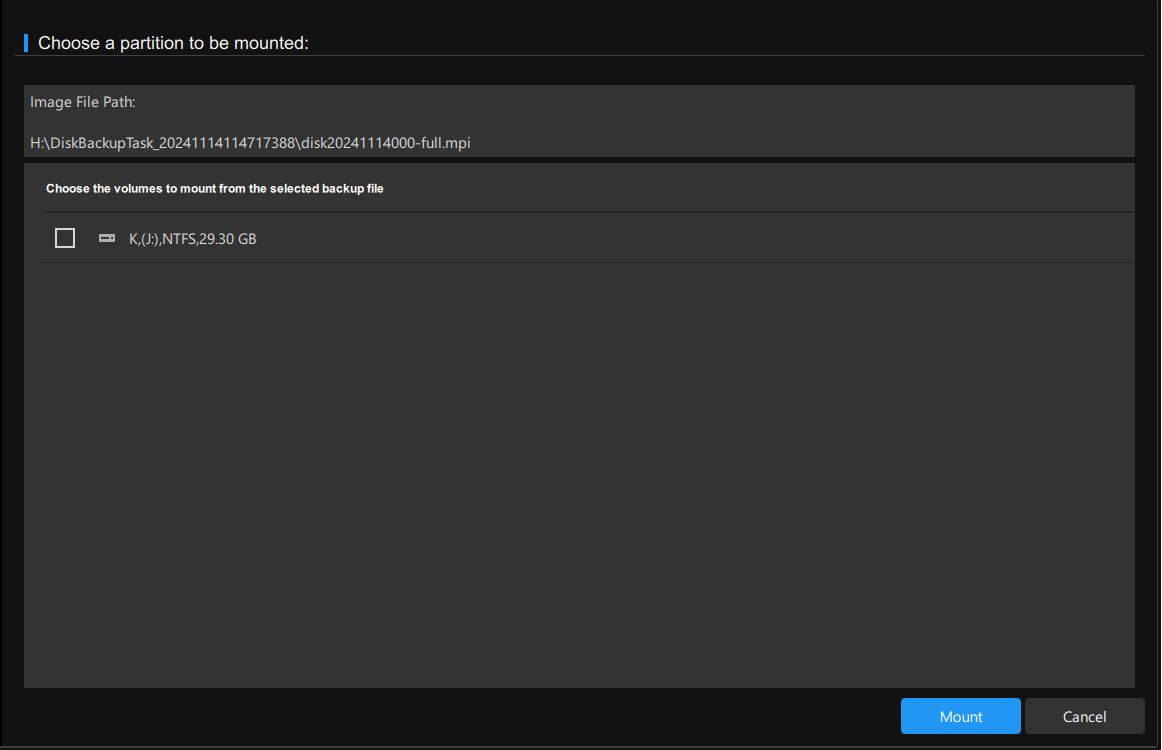
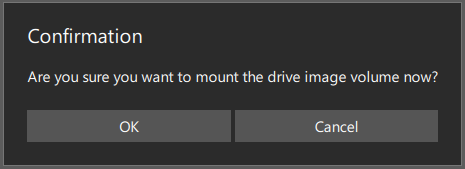
Step 3. MiniTool ShadowMaker will ask you whether you want to mount the drive image volume, click OK to confirm.
Immediately the mounting operation is finished. Now you can see the newly mounted partition under Windows Explorer.
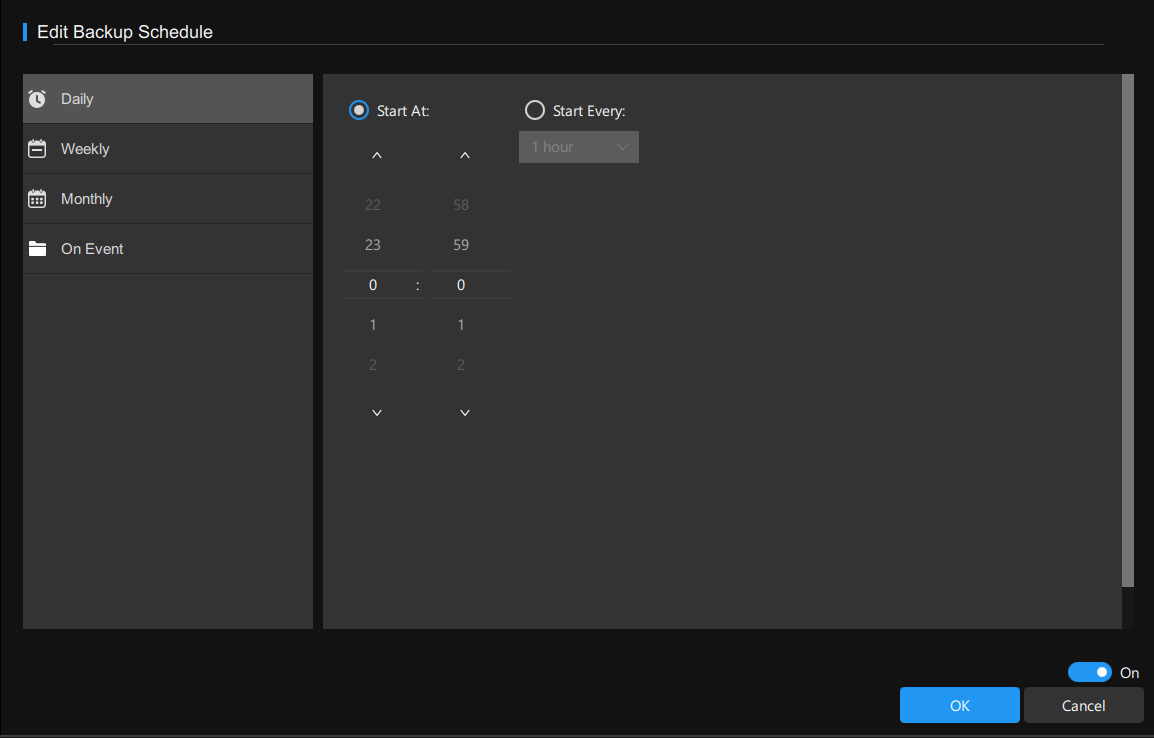
Edit Schedule: use this option to enter the schedule settings interface to create a daily/weekly/monthly/on-event automatic backup task. Also, you need to turn it on manually.
Daily – set a specific time point to start to back up automatically every day.
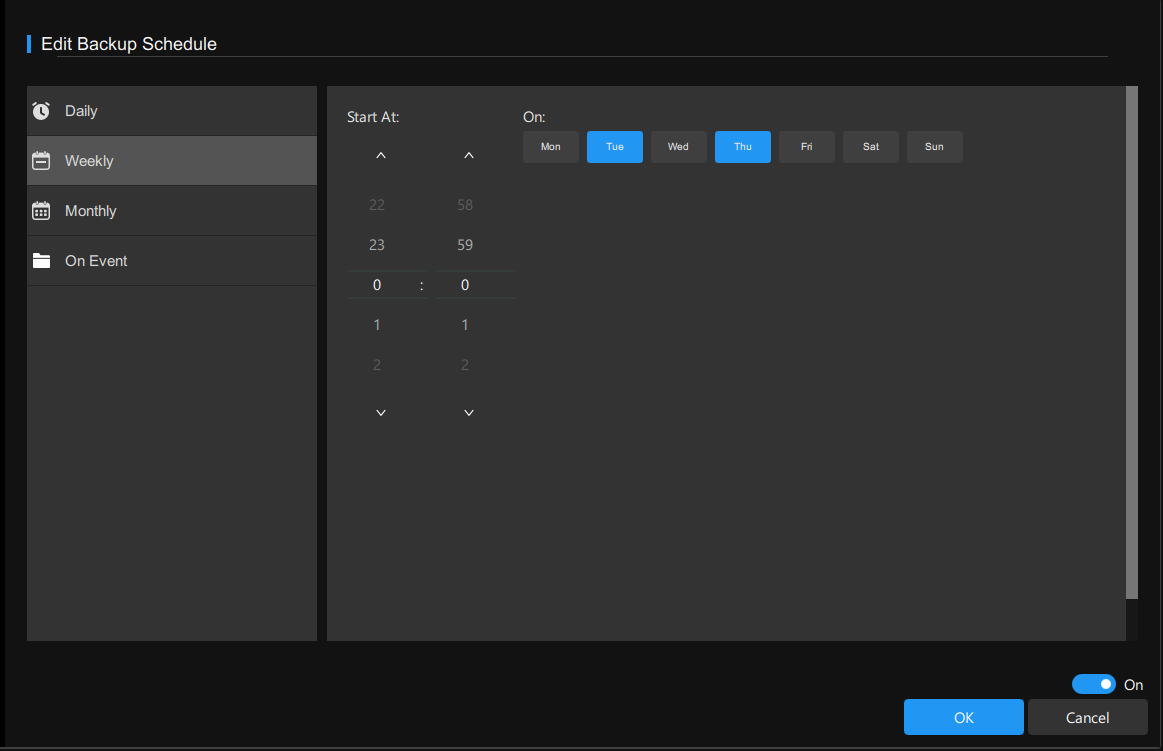
Weekly – choose to back up at a specific point of a day/days each week.
Monthly – choose to set an automatic backup task on the chosen day(s) each month. If you choose to back up automatically on the last few days, you need to be scrupulous because the number of days varies each month.
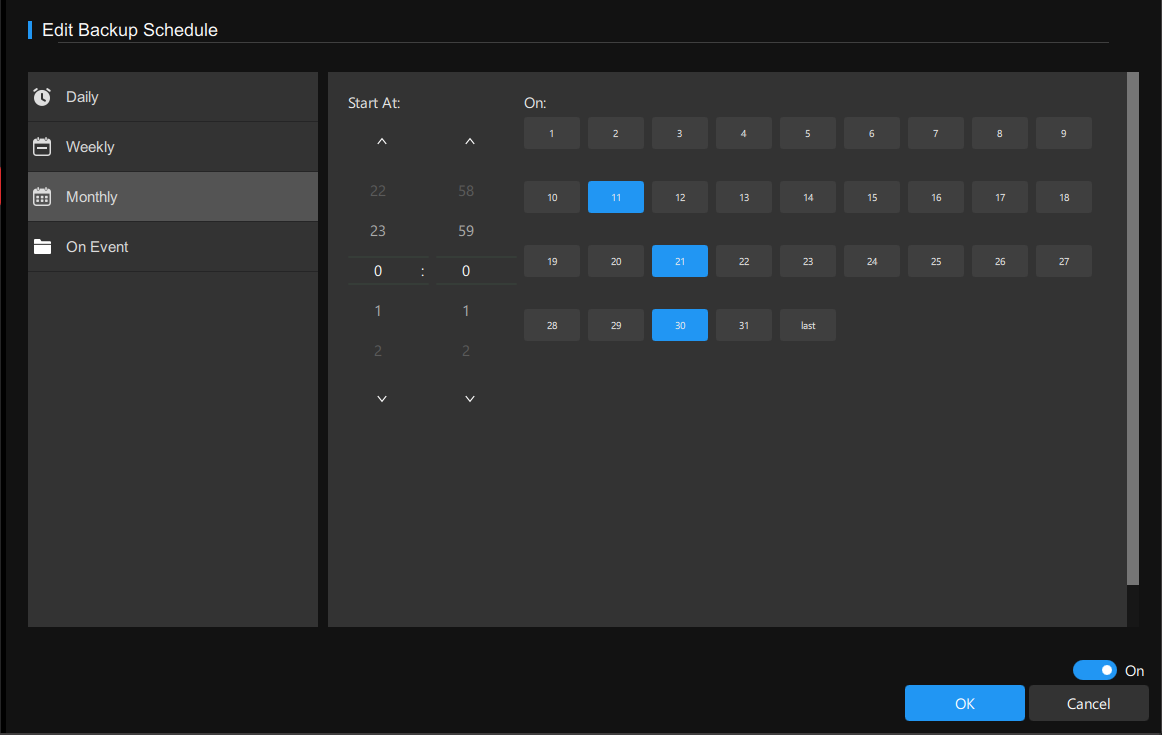
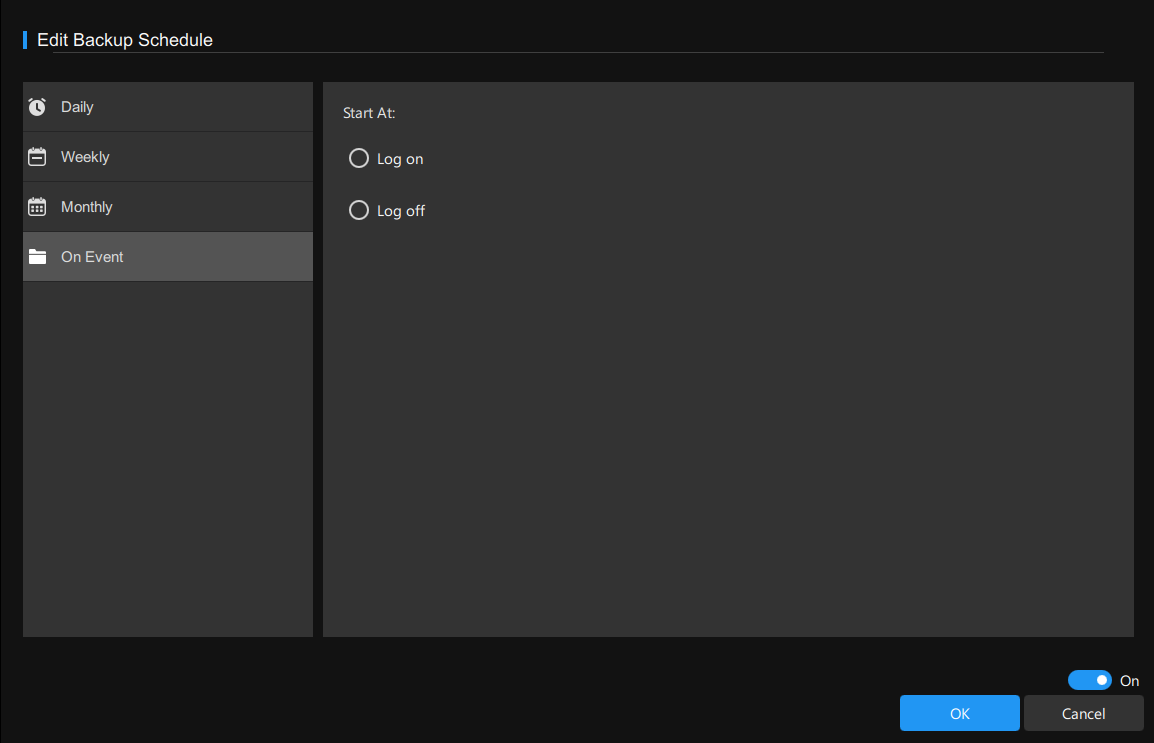
On Event – choose this option to start the backup task while logging on/off the computer.
Edit Scheme: click this option to enter the Backup Scheme and then it helps you to automatically manage disk space by deleting the specified backup image file versions.
- This option is also disabled, you can switch it on manually.
- By default, MiniTool ShadowMaker adopts incremental backup so as to save the storage space to the highest degree.
Full Backup Scheme:
1. Usually keep the latest xx versions of backup image files.
2. This type of scheme will retain the number of backup images you specified. Once it reaches the specified numbers, the old backup image files will be removed automatically.
Set to retain the latest 3 versions of backup image files as an example:
FULL1→FULL2→FULL3→FULL4 (delete FULL1)→FULL5 (delete FULL2)→FULL6 (delete FULL3)→FULL7 (delete FULL4)……
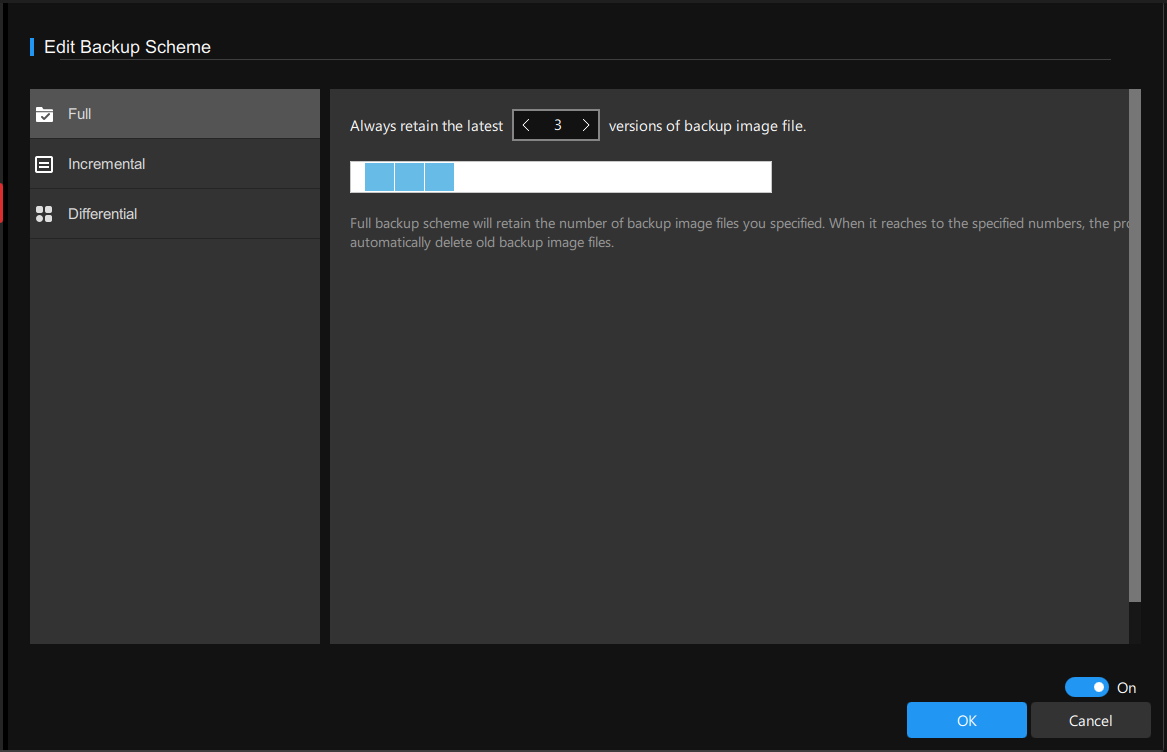
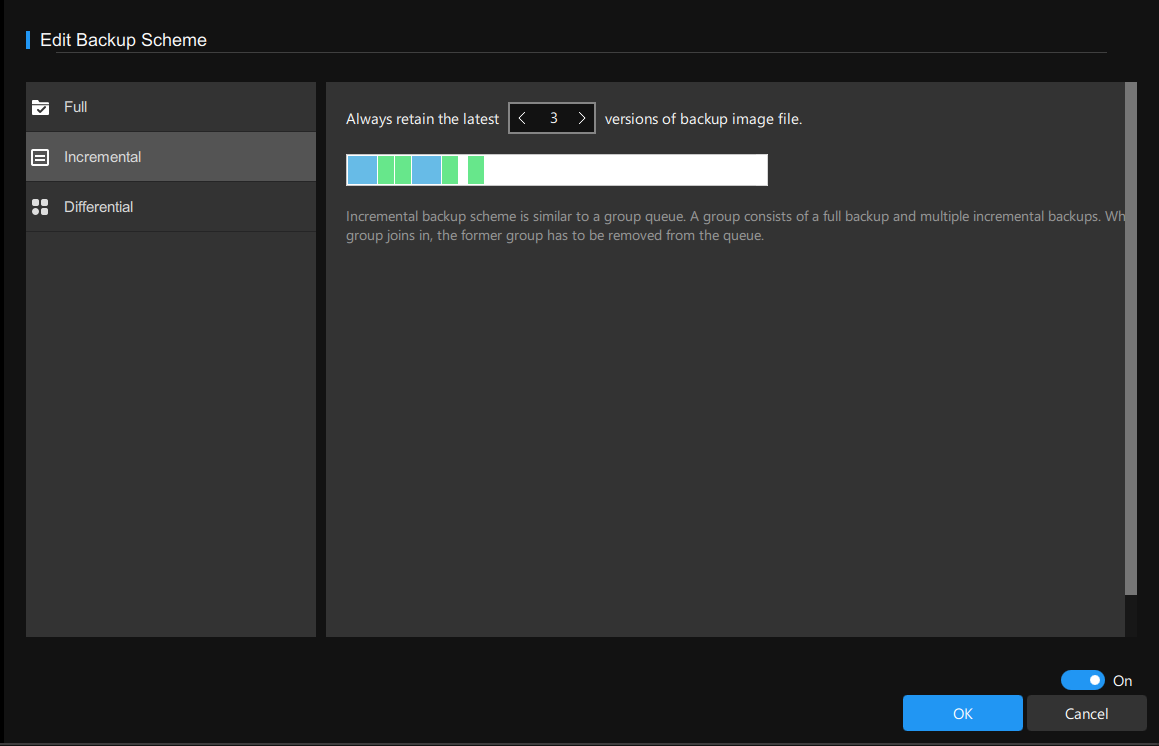
Incremental Backup Scheme:
1. Keep at least the latest xx versions of backup files.
2. Incremental backup scheme is similar to a group queue which contains a full backup and several incremental backups. When a later group appears, the program will remove the former group from the queue.
Set to keep at least the latest 3 versions of backups as an example:
FULL1→INC1→INC2→FULL2→INC3→INC4 (delete FULL1, INC1, INC2)→FULL3→INC5→INC6 (delete FULL2, INC3, INC4)……
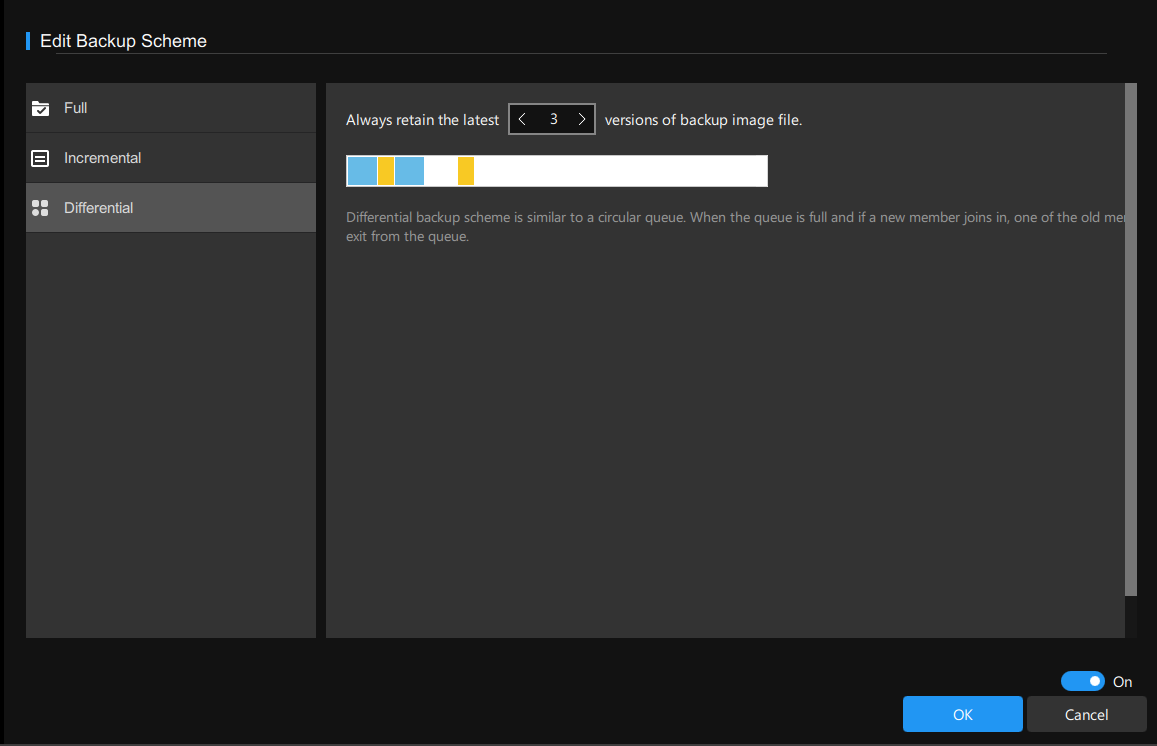
Differential Backup Scheme:
1. Keep at least the xx versions of backup image file
2. Differential backup scheme is like a circular queue that consists of a full backup and multiple differential backups.
When the queue is full and a new member joins in, one of the old members needs to exit the queue. The differential backups will be deleted first and the full backup won’t be removed until the newer queue is intact.
Set to retain at least the 3 versions of backup as an example:
FULL1→DIFF1→DIFF2→FULL2 (delete DIFF1)→DIFF3 (delete DIFF2)→DIFF4 (delete FULL1)……
Locate Image: choose this button to locate the selected backup directly. If you have started the backup process, you will see the corresponding content.
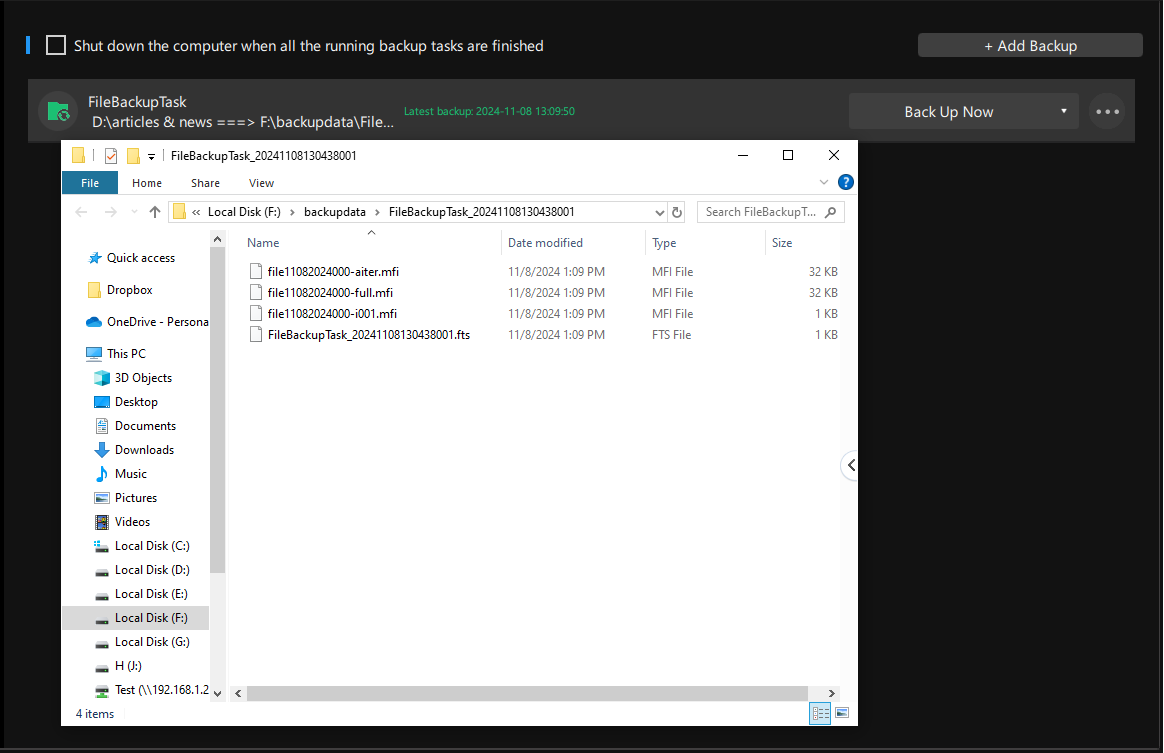
As you can see, the destination folder is named in this format: TaskName_Timestamp
- TaskName refers to the default or customized task name.
- Timestamp is a sequence of numbers identifying when a task is created.
The time rule is yyyymmddhhmmsszzz, where the yyyy means the year, mm is the month, dd stands for the day, hh represents the hour, ss indicates the second, and zzz refers to the hours and minutes offset from UTC.