If you want to learn about the solutions to fix the Windows update error code 800F0A13, you need to read this post. It will show you some feasible methods to do this job. Right now, you can click the link to get these methods from the MiniTool website.
You may receive the 800F0A13 error after the Windows update fails. This error is more common on Windows 7, but it also occurs on Windows 8.1.
If you want to fix this error, follow the instructions below.
Method 1: Run the Windows Update Troubleshooter
The first way you can try is to run the Windows Update Troubleshooter on your Windows 7/8.1 computer.
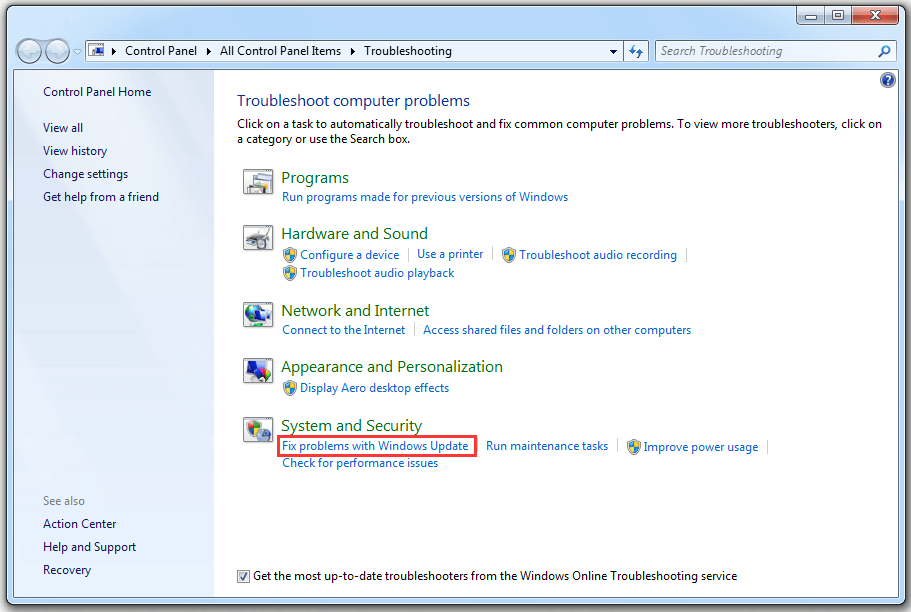
Step 1: Press the Windows key + R key at the same time to open the Run dialog box. Type control.exe /name Microsoft.Troubleshooting and press Enter to open the Troubleshooting computer problems window.
Step 2: Click Fix problems with Windows Update under the System and Security section.

Step 3: Click Advanced, check Apply repair automatically and then click Next.
Step 4: Wait for the analysis to complete. This process will determine whether any of the repair strategies that come with the Windows Update troubleshooter are applicable in your particular situation.
Step 5: If a viable repair strategy is determined, click Apply this fix in a different window. Next, follow the instructions on the screen to execute the fix. Keep in mind that depending on the proposed fix, you may or may not need to follow a series of other instructions.
Step 6: Once you successfully apply the recommended fix, restart the computer and check if the 800F0A13 error is fixed.
If you’re still encountering the 800F0A13 error, move down to the next method below.
Method 2: Run the DISM and SFC Scans
The second method you can try is to run DISM and SFC scans to fix the 800F0A13 error.
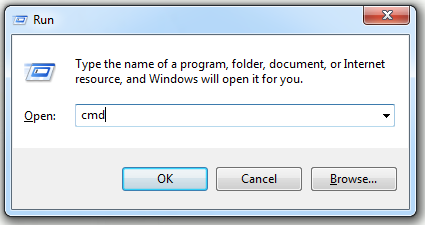
Step 1: Press the Windows + R keys to open the Run dialog box, type cmd and then press Ctrl + Shift + Enter to open an elevated CMD prompt.

Step 2: Type the following commands and press Enter to initiate each DISM scan:
Dism.exe /online /cleanup-image /scanhealth
Dism.exe /online /cleanup-image /restorehealth
Step 3: Wait until the DISM scan is complete, restart your computer.
Step 4: Open Command Prompt as an administrator again. Type sfc /scannow in the window and then press Enter to initiate the SFC scan.
Step 5: Restart your computer and check if the 800F0A13 error is resolved.
If you’re still encountering the 800F0A13 error, try the next method below.
Method 3: Disable Third Party Interference
This particular problem can also occur due to an overprotected antivirus suite, such as Avast, McAfee Sophos and Comodo. Thus, you can try to disable third party interference to fix the 800F0A13 error.
First, you should disable real-time protection, attempt to update again and then check to see if the problem still exists. This process will vary depending on the security client you use.
If you are still experiencing the 800F0A13 error, you should completely uninstall the antivirus and delete all remaining files that will still execute the same security rules.
Step 1: Open the Run window, type appwiz.cpl and press Enter.
Step 2: Find the third-party security program you want to uninstall, right-click it and click Uninstall.
Step 3: Follow the uninstallation wizard to uninstall the antivirus and then restart the computer.
Step 4: Download and launch the removal tools for your third-party security applications.
Step 5: Follow the instructions to get rid of anything left behind by the uninstalled application.
If this approach does not resolve the problem, or if you have confirmed that the antivirus suite is not the cause of the problem, move to the final method below.
Method 4: Perform a Startup Repair
Now you can try to perform a Startup Repair. The following part will show you how to do this job with Windows 7 installation media.
Step 1: Insert the Windows 7 installation disc/USB into your computer and restart the computer.
Step 2: Get into its BIOS settings and configure the computer’s boot order to boot from the installation media.
Step 3: Save the changes and exit the BIOS settings.
Step 4: Press any key to boot from the installation media.
Step 5: Choose your language settings and other preferences and then click Next.
Step 6: Click Repair your computer and then select the Operating System you want to repair.
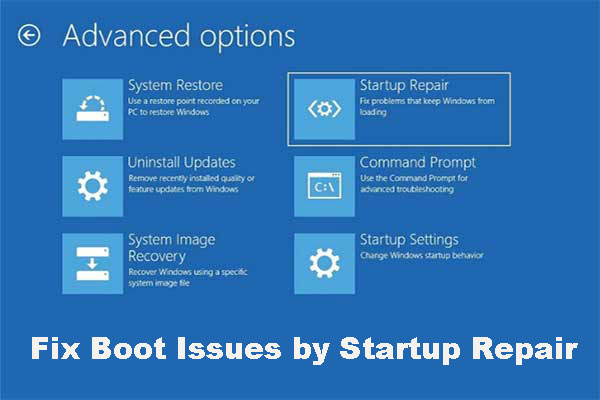
Step 7: At the System Recovery Options window, click Startup Repair.
After you finish the steps, check if the 800F0A13 error is fixed.
Bottom Line
These are all solutions to fix the Windows update error code 800F0A13. If you encounter this error message, try these methods.

