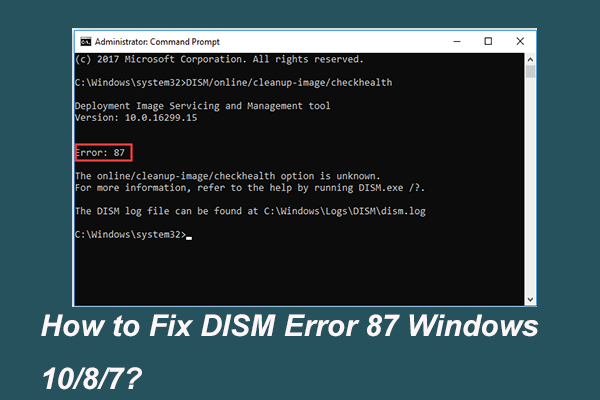
How to use the Dism offline repair Windows 10 to repair Windows 10 image? How to use the DISM commands? This post from MiniTool will show you the detailed tutorials. In addition, you can visit MiniTool to find more Windows tips and solutions.
What Is DISM?
DISM, whose full name is Deployment Image Servicing and Management, is a Windows built-in tool for network administrators to prepare, modify and repair system image, including Windows Recovery Environment, Windows Setup, and Win PE. The DISM tool often is used to fix common problems with your computer’s hidden recovery image.
Usually, DISM will download necessary files from Windows Update to replace the bad files. Sometimes, DISM may fail to repair the corrupted image. In this case, you can try the DISM offline repair tool.
So, do you know how to use the DISM offline repair Windows 10? So, in the following section, we will show you how to run DISM command and how to use the DISM offline repair Windows 10.
How to Use DISM Offline Repair Windows 10?
In order to restore the offline image successfully, you need to do the following things first.
- First, please copy the install.win file from either another computer, a Windows 10 installation media, or the Windows 10 ISO files. This file is necessary during the repair process.
- Second, the install.wim file must be of the same version edition as well as language of the operating system you are using.
- Third, you need to confirm the location of the install.wim file.
- Fourth, DISM is case sensitive.
- Fifth, make sure the install.wim file is not read-only mode.
After ensuring the above settings, you can proceed on how to use the DISM offline repair Windows 10.
Now, here is the tutorial.
1. Right-click the ISO file and choose Mount.
2. Go to This PC and confirm the drive letter of the mounted file.
3. Then open Command Prompt as administrator.
4. Next, type the following commands one by one and hit Enter to continue.
DISM /Online /Cleanup-Image /StartComponentCleanup
DISM /Online /Cleanup-Image /AnalyzeComponentStore
DISM /Online /Cleanup-Image /RestoreHealth /source:F:\Sources\Install.wim:1 /LimitAccess (F refers to the driver letter of the mounted ISO file.)
After that, the DISM tool will start to repair Windows image with the known good files from install.wim file. And the above steps are on how to use the DISM offline repair Windows 10.
See what you can do if DISM /Online /Cleanup-image /Restorehealth is stuck.
Apart from using DISM offline repair Windows to repair Windows image files, you can also choose to use the DISM tool to check problems with the checkhealth option and scanhealth option.
Now, we will show you how to use the DISM command to check health.
How to Use DISM Command to Check Health?
In this part, we will show you how to use the DISM command to check health. To check health, you can use the checkhealth option and scanhealth option. Now, we will show them one by one.
Check Health with DISM Checkhealth Option
Now, here is the tutorial.
- Open Command Prompt as administrator.
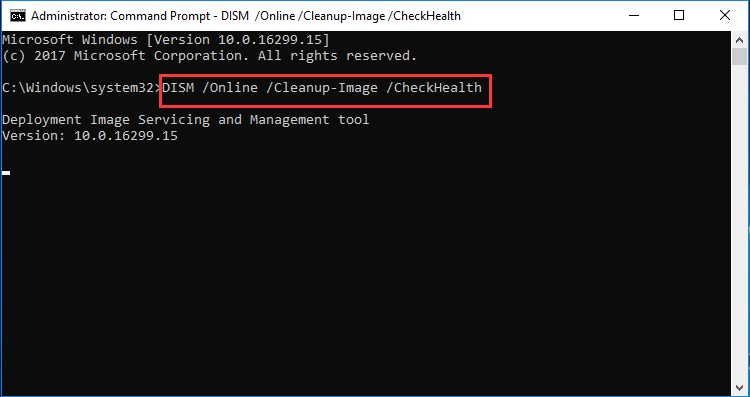
- Then type the command DISM /Online /Cleanup-Image /CheckHealth and hit Enter to continue.

After the steps are finished, the DISM tool will run and verify any data corruption that requires fixing.
Check Health with DISM Scanhealth Option
You can also check health with DISM scanhealth option.
Now, here is the tutorial.
- Open Command Prompt as administrator.
- Then type the command DISM /Online /Cleanup-Image /ScanHealth and hit Enter to continue.
Then it will take several minutes to scan and determine whether there is a corrupted image needed to be repaired.
To sum up, this post has shown how to use DISM offline repair Windows 10 to repair corrupted images and also shown some DISM commands to check the health of the image. If you have some problems with DISM offline repair Windows 10, you can share it in the comment zone.
