This tutorial is about how to enable and disable the Encrypting File System (EFS) feature on Windows 11. Here are 5 ways for you and you can choose one of them based on your needs. Now, you can continue to read this post from MiniTool.
Encrypting File System
What is Encrypting File System? Encrypting File System is a feature on Windows, which allows you to easily encrypt and decrypt files on Windows NTFS drives. After you encrypt your files with this tool, other people cannot access them unless they know your password.
This feature allows you to encrypt specific folders instead of entire hard drive partitions. Besides, if you move a file to an EFS-encrypted folder, it will be automatically encrypted.

How to Enable/Disable Encrypting File System
How to enable or disable Encrypting File System on Windows 11/10? There are 5 ways for you.
Way 1: Via Command Prompt
Step 1: Type cmd in the Search box and choose Run as administrator.
Step 2: To enable the EFS feature, type the following command and press Enter:
fsutil behavior set disableencryption 0
Step 3: To disable the feature, type the following command and press Enter:
fsutil behavior set disableencryption 1
Way 2: Via Services
Step 1: Press the Windows + R keys to open the Run dialog box. Type services.msc and press Enter.
Step 2: Find and right-click the Encrypting File System (EFS) option to choose Start.
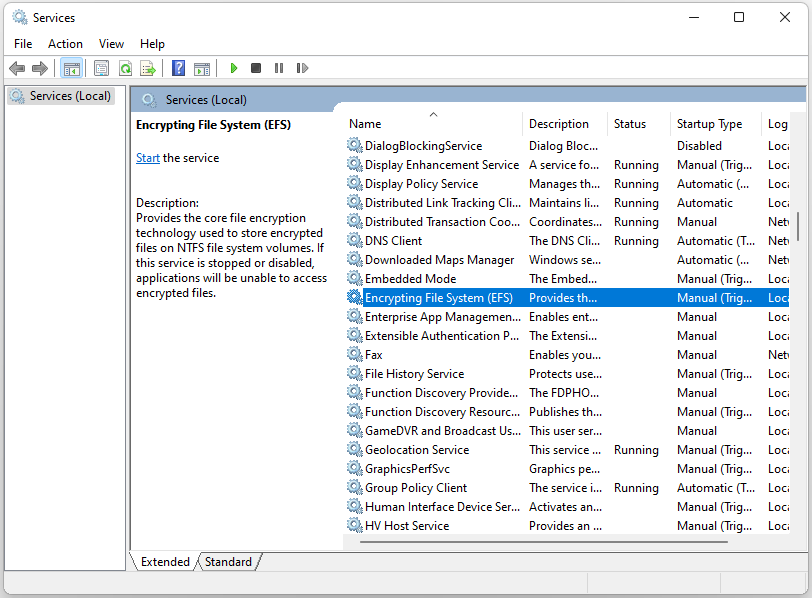
Step 3: Then, double-click it to open its properties. Click the Startup type drop-down menu to select Automatic. Click Apply and then click OK to save these changes.
To disable Encrypting File System, open Services again and select the Disabled option on the Startup type drop-down menu. Click Apply and OK to apply these changes.
Way 3: Via Registry Editor
Step 1: Press the Windows + R keys to open the Run dialog box. Type Regedit and click OK to open Registry Editor.
Step 2: Navigate to Computer > HKEY_LOCAL_MACHINE > SYSTEM > CurrentControlSet > Policies.

Step 3: Right-click on any space on the right-hand side and select New > DWORD (32-bit) Value.
Step 4: Name the DWORD value as NtfsDisableEncryption and press Enter.
To enable EFS, double-click the NtfsDisableEncryption value, set its Value data to 0, and click OK.
To disable EFS, double-click the NtfsDisableEncryption value, set its Value data to 1, and click OK.
Way 4: Via Local Group Policy Editor
Step 1: Press the Windows + R keys to open the Run dialog box. Type gpedit.msc and press Enter to open Local Group Policy Editor.
Step 2: Navigate to Computer Configuration > Administrative Templates > System > Filesystem > NTFS.
Step 3: On the right-hand side pane, double-click the Do not allow encryption on all NTFS volumes option.
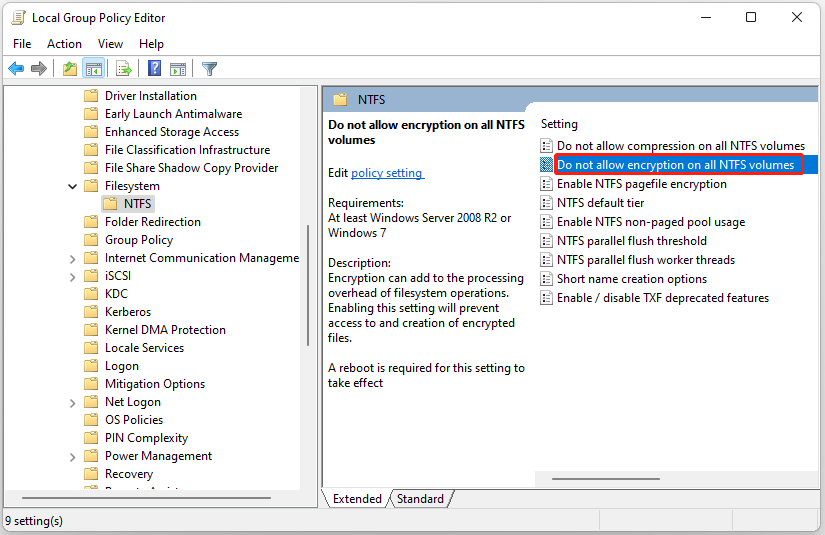
Step 4: To enable it, select Not Configured or Disabled. To disable it, select the Enable option.
Way 5: Via Local Security Policy
Step 1: Press the Windows + R keys to open the Run dialog box. Type secpol.msc and press Enter to open Local Security Policy.
Step 2: Navigate to Security Settings > Public Key Policies.
Step 3: Find and right-click Encrypting File System and select Properties.
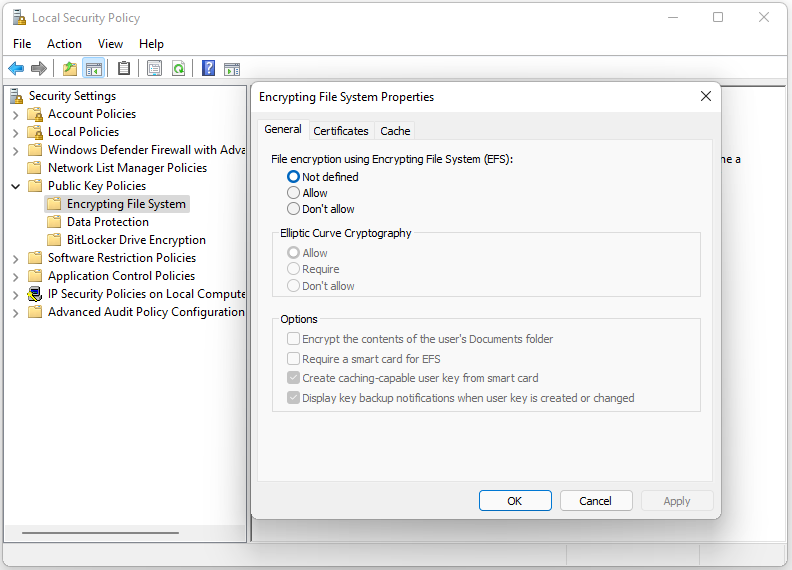
Step 4: Go to the General tab and select Allow under the File encryption using Encrypting File System (EFS) part. Click Apply and OK.
To disable the EFS tool, select Not defined or Don’t allow.
Tip: To provide better protection for your data, it’s recommended to back up them regularly. To do that, you can try the PC backup software – MiniTool ShdowMaker. It allows you to add password protection to a specific backup. Three data encryption levels are provided for your choice: None, Normal, and AES128. Download it to see more details!
MiniTool ShadowMaker TrialClick to Download100%Clean & Safe
Final Words
How to enable or disable Encrypting File System on Windows 11? This post provides 5 ways and you can choose one of them based on your needs. I hope that this post can be useful to you.
About The Author

Position: Columnist
Having been an editor at MiniTool since graduating college as an English major, Daisy specializes in writing about data backups, disk cloning, and file syncing as well as general computer knowledge and issues. In her free time, Daisy enjoys running and going with friends to the amusement park.