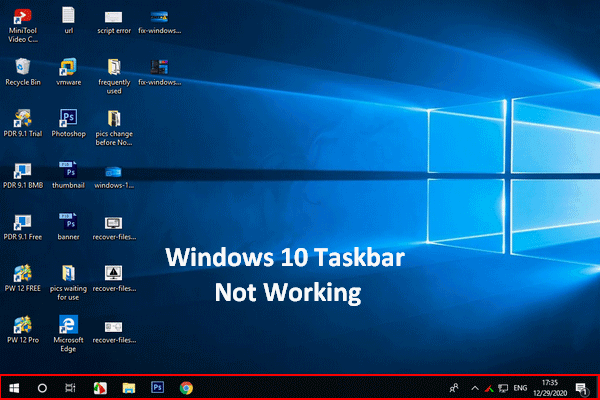
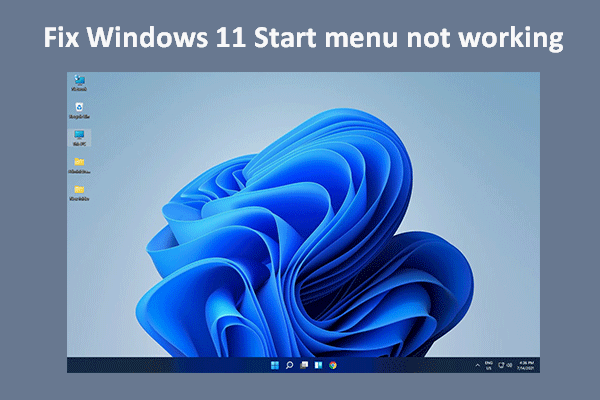
In all previous versions of Windows operating systems, users can move the taskbar easily to left, right, and top of the screen. However, the new system – Windows 11 – won’t let users move the taskbar as usual. Does this mean the Windows 11 taskbar is fixed forever and people can’t change its location anymore? Of course not; there are some workarounds.
Microsoft allows users to change the location of the taskbar easily in Windows 10, Windows 8, Windows 7, and even older operating systems. People can open the taskbar settings window and select the taskbar location on the screen according to their needs: Bottom, Top, Left, and Right.
However, when it comes to Windows 11, the latest Windows operating system, the options to change taskbar location are removed. It seems that Windows 11 can’t move taskbar; the taskbar is stuck on the bottom of the computer screen. Luckily, there are some workarounds available for moving the taskbar on Windows 11. This page mainly shows you how to move taskbar Windows 11.
How Do You Get Windows 11 Style Taskbar In Windows 10?
MiniTool Power Data Recovery TrialClick to Download100%Clean & Safe
How to Move Taskbar to Top in Windows 11
As mentioned above, lots of taskbar options are disappeared from Windows 11: the taskbar can only be aligned to the bottom of the screen; users are not able to enable classic window labels on taskbar anymore. These changes can be very frustrating for users who like to move taskbar Windows 11.
If you’re also curious about Windows 11 move taskbar to top or Windows 11 move taskbar to left, please read the following content carefully (Windows 11 move taskbar to right side is not possible).
Windows 11 Move Taskbar to Top of Screen Using Registry Editor
- Open Windows search by clicking on the search icon on taskbar or by pressing Windows + S.
- Type regedit into the textbox and then select Registry Editor from the search result.
- Click Yes to allow this app to make changes to your PC.
- Go to HKEY_CURRENT_USER\Software\Microsoft\Windows\CurrentVersion\Explorer\StuckRects3 Also, you can copy & paste this path into the address bar and press Enter.
- Now, you need to back up the StuckRects3 key by right clicking on it -> selecting Export -> typing a File name -> clicking Save.
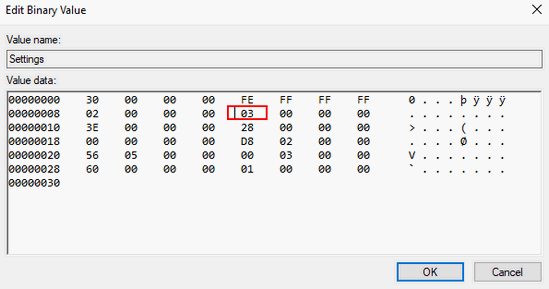
- Keep StuckRects3 selected in the left pane and then look for the Settings key in the right pane.
- Double click on the Settings key or right click on it & select Modify.
- Locate the second row (the 00000008 row) and the fifth column. This value is set to 03 by default.
- Place your cursor in front of the 03 value and press Delete on the keyboard.
- Type 01 and click OK to save the changes.
- Close the Registry Editor.
To make the changes take effect, you should restart your PC or restart the Windows Explorer.
The simplest way to restart Windows 11: using the Start menu.
- Click on the Start icon in the taskbar.
- Click on the Power button in the lower right corner of the Start menu.
- Select Restart.
There are two commonly used ways to restart Explorer.
Use Task Manager:
- Open Task Manager by pressing Ctrl + Shift + Esc.
- Look for Windows Explorer under the Processes tab.
- Select it and click Restart at the bottom right.
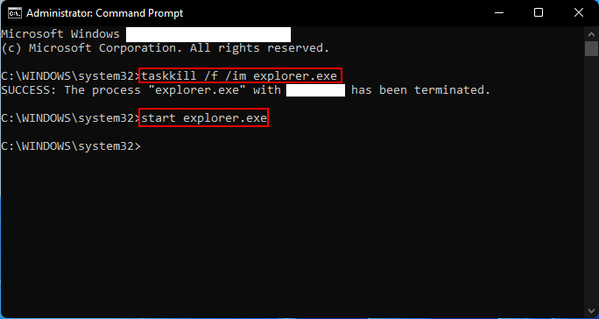
Use Command Prompt:
- Press Windows + S.
- Type cmd.
- Right click on Command Prompt.
- Select Run as administrator.
- Type taskkill /f /im explorer.exe and press Enter.
- Type start explorer.exe and press Enter.
How to Move Taskbar and Start Menu to the Left
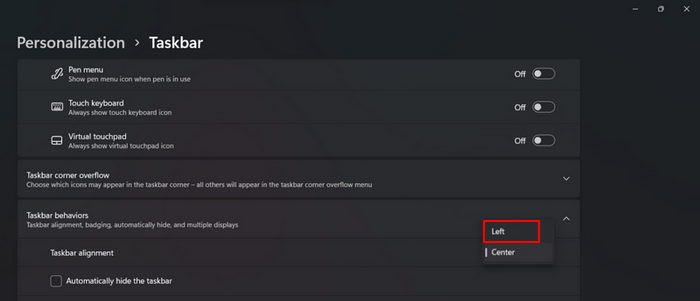
- Open Settings.
- Select Personalization from the left pane.
- Click Taskbar in the right pane.
- Expand the Taskbar behaviors.
- Select Left from the drop-down menu of Taskbar alignment.
