Boot Configuration Data file is very important to Windows startup. If it is deleted or corrupted, your computer may fail to boot up. In this post on MiniTool Website, we will show you how to rebuild BCD for you. If you are curious, scroll down to get more details.
What Is BCD?
BCD or Boot Configuration Data is a firmware-independent database file that contains boot-time configuration data. It is usually used by Microsoft’s new Windows Boot Manager and it stores many important startup information to start Windows.
How to Rebuild BCD Windows 10/11?
Since the Boot Configuration Data file is closely related to computer startup, rebuilding BCD might be an effective solution when you fail to boot your computer. Here’s how to do it:
Move 1: Enter WinRE
Step 1. Press the power button. When the Windows blue logo appears on the screen, press the power icon again to shut down your computer.
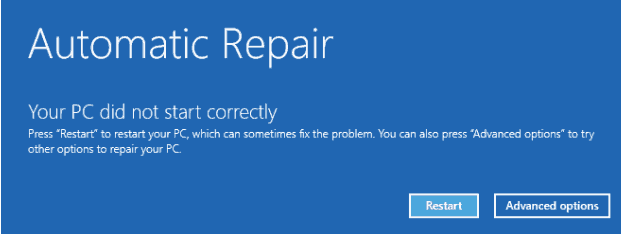
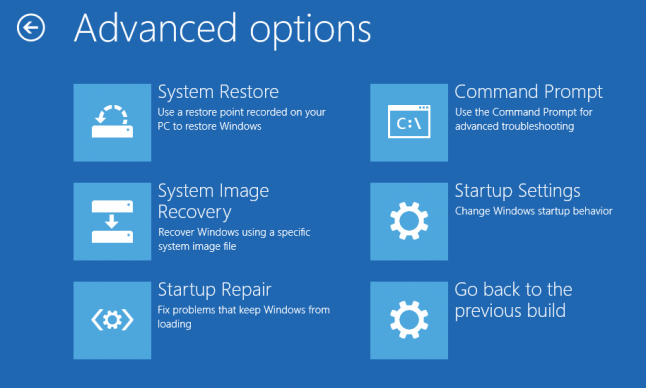
Step 2. Repeat the step two or more times until you see the Automatic Repair screen. Click on Advanced options to enter Windows Recovery Environment.

Move 2: Rebuild BCD
Step 1. Go to Troubleshoot > Advanced options > Command Prompt.

Step 2. Type the following command in the black console and hit Enter. Then, it will scan for other operating systems and you can choose the OS you want to add to BCD.
bootrec /rebuildbcd
Step 3. If this doesn’t help, you can set the boot path manually. In the command window of WinRE, type bcdboot c:\windows /s c: and hit Enter.
Here c: refers to the system drive. You can only use this method when you know the exact drive where Windows is installed.
How to Back up & Restore BCD Registry File in Windows 10?
Boot Configuration Data is so important that any corruption or deletion in it will lead to Windows boot issues. Therefore, any operation about BCD file must be executed with caution. It is important to create a backup of the original BCD registry file in case something goes wrong. Here’s how to back up BCD registry file and how to restore it.
Step 1. Launch Command Prompt as an administrator.
Step 2. In the command line interface, type the following command and hit Enter to create a backup of your BCD file named as 0.1bcd on the F drive. After the process is done, you will receive the notice of successful completion.
bcdedit /export f:\01.bcd
Step 3. The restoration process is pretty easy, just run the following command in the elevated Command Prompt.
bcdedit /import f:\01.bcd
Suggestion: Back Up Your PC with MiniTool ShadowMaker
It is common to encounter system issues on Windows 10/11, and you are easy to make some mistakes when executing the commands in CMD. Things will be easier if you have created a system image. With a system image in hand, you can restore your system easily. When it comes to creating a system image, the PC backup software – MiniTool ShadowMaker is known for offering a one-click system backup solution. Let’s see how to use this tool to back up your Windows within just a few steps.
Step 1. Double-click on the shortcut of MiniTool ShadowMaker to launch it.
MiniTool ShadowMaker TrialClick to Download100%Clean & Safe
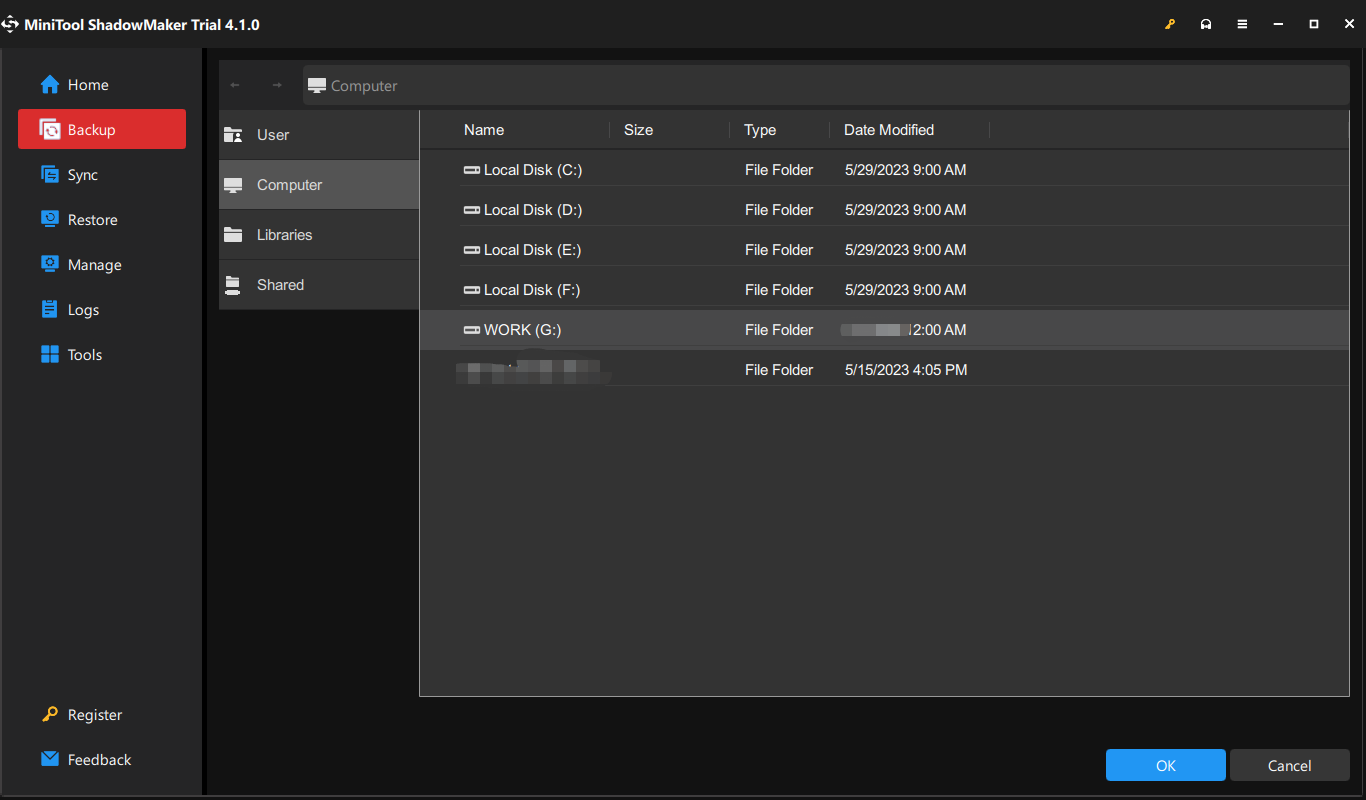
Step 2. In the Backup page, you can see the system is selected by default in SOURCE. As for choosing a storage path for the system image, go to DESTINATION.

Step 3. Click on Back Up Now to start the process right now.
Final Words
In Summary, this post shows you how to rebuild Boot Configuration Data, how to back up BCD registry file, and how to restore registry BCD file step by step. Last but not in least, you had better back up your Windows so that you can restore your system quickly when running into system issues.
