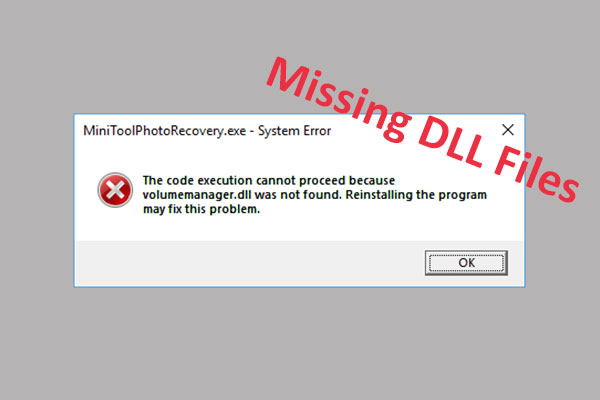
When you run Windows 7/8/10, you may encounter the MFC120U.dll missing issue. If you don’t know how to fix the issue, this post is what you need. Besides, this post from MiniTool also introduces what MFC120U.dll is. Now, keep on your reading.
What Is MFC120U.dll
MFC120U.dll is a file related to your system’s Visual C++ runtime files. Microsoft Visual C++ is a commercial, integrated development environment (IDE) for C, C++, and CLI programming languages. It has tools for running and debugging various C ++ codes, including codes for Microsoft Windows API, DirectX API, and Microsoft .NET Framework.
Sometimes, you may encounter the MFC120U.dll missing or MFC120U.dll not found issue. Now, let’s see how to fix the MFC120U.dll missing Windows 10.
How to Fix MFC120U.dll Missing Issue
Method 1: Install the MFC120U.dll File
If there is no MFC120U.dll on your computer, then the first choice you should take is to download and then install the MFC120U.dll file.
Step 1: Download the MFC120U.dll file on the official website.
Step 2: Find the proper file for your system. You need to pay attention to whether it’s a 32-bit or 64-bit file and the language it uses. It is recommended to download the latest version of the MFC120U.dll file. Click Download.
Step 3: Install the MFC120U.dll file and then put it into the game/application folder or the Windows system directory to avoid the MFC120U.dll missing error.
Step 4: Relaunch the program that gave you the error to check if the error is gone.
Method 2: Reinstall the Microsoft Visual C ++ Redistributable Package
As you know, the MFC120U.dll file belongs to the Visual C ++ Redistributable for Visual Studio 2015 Package. Normally, it will automatically be installed when you install Windows, but if it is corrupted, then the MFC120U.dll missing error will appear.
Luckily, you can solve this problem easily by reinstalling the Microsoft Visual C ++ Redistributable Package. Here is the tutorial:
Step 1: Go to its official website and click Download.
Step 2: Choose the proper file for your system and then click Next.
Step 3: After finishing downloading the MFC120U.dll file, double-click it, and then follow the instructions to install it.
Step 4: Reboot your system and relaunch the program that gave you the error to check if the error disappears.
Method 3: Do a Clean Installation of the Program
You can perform a clean installation of the program that gave you the error to fix the MFC120U.dll missing error. Here is the tutorial:
Step 1: Press the Windows key and the R key to open the Run dialog box.
Step 2: Type appwiz.cpl in the box and then click OK to open Programs and Features.
Step 3: Right-click the program that gave you the error to choose Uninstall. Click Yes.
Step 4: Reboot your computer and then reinstall the program.
Step 5: Launch the program to check if the error still exists.
Method 4: Run a Virus Scan for Your System
The MFC120U.dll missing error may occur because there is a virus on your computer to prevent the MFC120U.dll file from being found. Thus, you can run a virus scan for your system.
Here is the way to run a full virus scan using the Windows Defender:
Step 1: Open Settings to click Update & Security.
Step 2: Click Windows Security and then click Virus & threat protection under Protection areas.
Step 3: Click Scan options and then check Full scan in the newly pop-out window. Click Scan now.
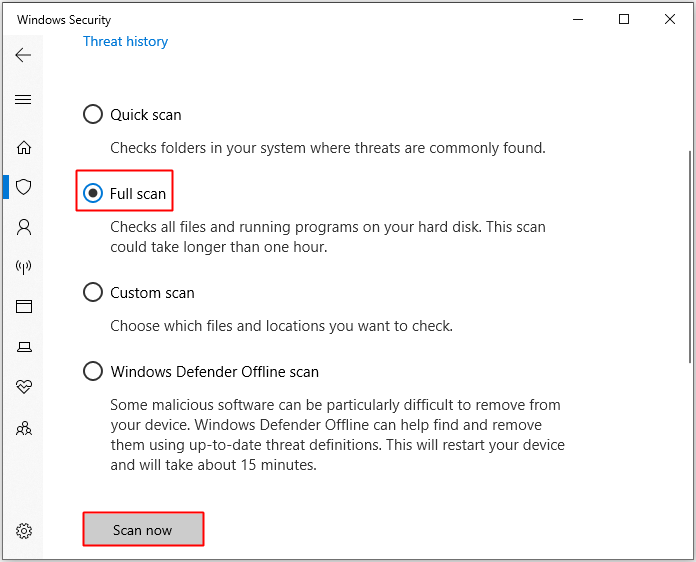
Step 4: Wait until the process is complete, then it will show whether there is any virus or malware. If there is, use Windows Defender to fix it.
Step 5: Restart your Windows and then relaunch the program that gave you the error to see if the error still persists.
Final Words
To sum up, this post has introduced what MFC120U.dll is. What’s more, if you meet the MFC120U.dll missing error, you can try the methods above to get rid of it.
About The Author

Position: Columnist
Having been an editor at MiniTool since graduating college as an English major, Daisy specializes in writing about data backups, disk cloning, and file syncing as well as general computer knowledge and issues. In her free time, Daisy enjoys running and going with friends to the amusement park.