If you want to know how to disable Windows 10 Shared Experiences, this post is what you need. It will show you 3 useful methods. To do this work, you can use the Settings app, change Group Policy settings and use Registry Editor. Get the details from the MiniTool website.
Windows 10 Shared Experiences is a feature that could keep your PCs or laptops synced. If you want to move from one machine to another while working on the task, this feature can help you do this job.
If you don’t want to move between computers with this feature, or if you do not want to share this feature with nearby computers as a network administrator, you can disable Windows 10 Shared Experiences.
Method 1: Turn off Windows 10 Shared Experiences with the Settings App
This is by far the easiest one to turn off Windows 10 Shared Experiences. Here are the steps.
Step 1: Press the Windows key + I key at the same time to open the Settings window.
Step 2: Click the System section.
Step 3: Now click Shared experiences from the left side.
Step 4: Under the Nearby sharing section, switch the toggle to Off.
After you finish the steps above, you can turn off Windows 10 Shared Experiences successfully.
Method 2: Turn off Windows 10 Shared Experiences by Changing Group Policy Settings
In order to turn off Windows 10 Shared Experiences, you can change Group Policy settings. Follow the steps below to do this job.
Step 1: Press the Windows key + R key at the same time to open the Run window.
Step 2: Type gpedit.msc in the dialog box and then press Enter to open Group Policy Editor.
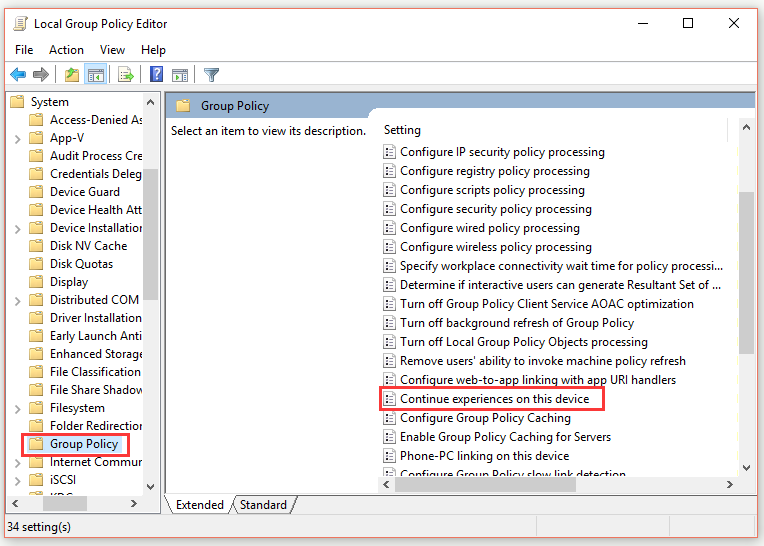
Step 3: Navigate to Computer Configuration > Administrative Templates > System > Group Policy.
Step 4: Select Group Policy and then double click Continue experiences on this device in the right panel.

Step 5: Check the Disable option from the pop-up window.
Once you complete all the steps, you can successfully turn off Windows 10 Shared Experiences.
Method 3: Turn off Windows 10 Shared Experiences with Registry Editor
If you think the above 2 methods are not for you, you can also turn off Windows 10 Shared Experiences with Registry Editor. It is important to be careful when changing the Registry Editor. If you are going to use this method, you’d better back up your entire PC.
Step 1: Press the Windows key + R key at the same time to open the Run window.
Step 2: Type regedit in the dialog box and then press Enter to open Registry Editor.
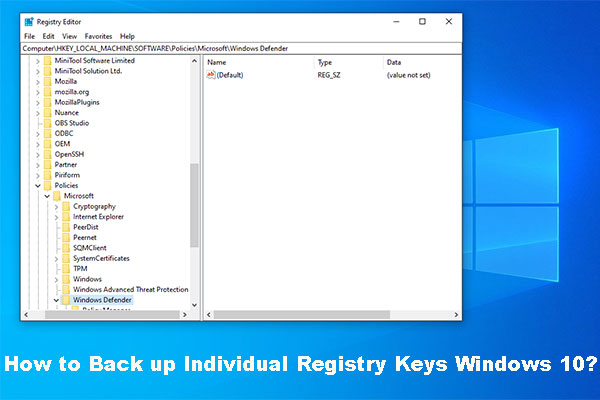
Step 3: Navigate to HKEY_LOCAL_MACHINE\SOFTWARE\Policies\Microsoft\Windows.
Step 4: Find the System folder. Right-click it, select the New option and then choose DWORD (32-bit) value.
Step 5: Name the new file EnableCdp. Now right-click this new file and select the Modify option.
Step 6: Change Value data to 1 and then click OK.
Bottom Line
To sum up, this post has shown you several useful methods to turn off Windows 10 Shared Experiences. If you want to do this job, you can try the methods mentioned in this post. Hope it will help you.

