Do you know how to create a Time Machine backup to NAS? This guide from MiniTool Website will show you how to back up files from Mac to NAS using the backup utility - Time Machine. Additionally, we also have a backup pro for you, MiniTool ShadowMaker.
About Time Machine
Time Machine is a convenient utility for Mac users as it can automatically back up the MacOS system and individual data such as music, photos, documents, and applications. It will perform the backup on a regular basis, including every hour, every day, and every week.
Besides, Time Machine can also save local snapshots to restore previous files when you use this tool. These snapshots are taken every hour and saved on the same disk as the original files. The system will keep them for up to 24 hours or until the storage space is run out. Local snapshots are only stored on disks that use the Apple File System (APFS).
Then you can learn to back up files from Mac to NAS using Time Machine by following the step-by-step introductions.
Also read: [Full Tutorial] How to Erase All Data from Synology NAS Easily
How to Create a Time Machine Backup to NAS
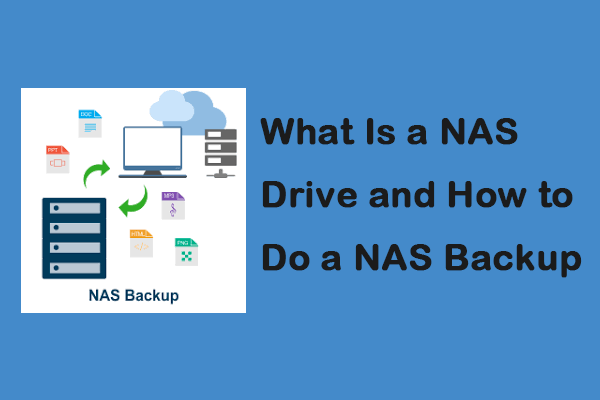
A NAS system (network-attached storage) is a network storage device that is like an integrated cloud storage. It enables you to back up, restore, and share files and allows you to add more storage space when you need it. Both QNAP NAS and Synology NAS are well-known.
How can you back up Mac to NAS? Next, we will walk you through a series of steps to back up files from Mac to NAS using Time Machine.
Step 1. Set up DSM for Time Machine
1. Log in to DSM (DiskStation Manager) with an administrator account.
2. Launch Control Panel, click the Shared Folder option, then click on Create.
3. Set up a name for the shared folder and choose a location. Then click Next to continue.
4. If necessary, configure advanced settings for the folder and click Next. Then follow the given introductions to complete the process.
5. After that, go to File Services > SMB (DSM 7.0 and above) or SMB/AFP/NFS (DSM 6.2 and below) > Enable SMB service.
6. Go to Advanced > Enable Bonjour Time Machine broadcast via SMB > Set Time Machine folders. Then select the shared folder you create in the Time Machine menu and save your settings.
Step 2. Back up files from Mac to NAS using Time Machine
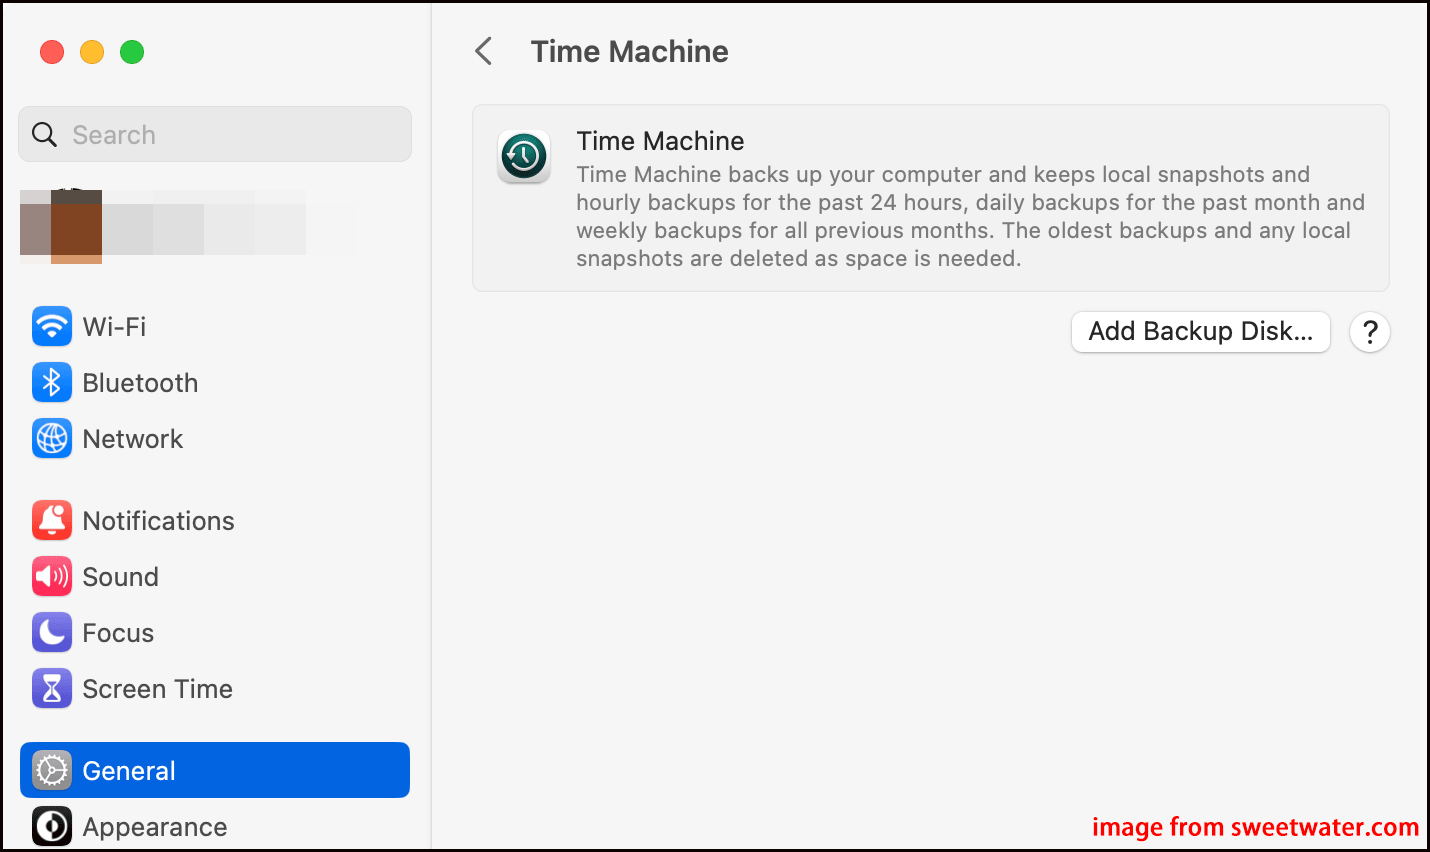
1. To open the Time Machine, go to Apple menu > System Settings > General > Time Machine. Here we take macOS Ventura 13 as an example.
2. Under Time Machine, click on the button for Add Backup Disk… and choose the shared folder that you just added, then click Set up Disk.

3. Input the username and password you previously set and click the Connect button to perform a data backup. You can also encrypt your backup data if you like.
Useful Suggestion
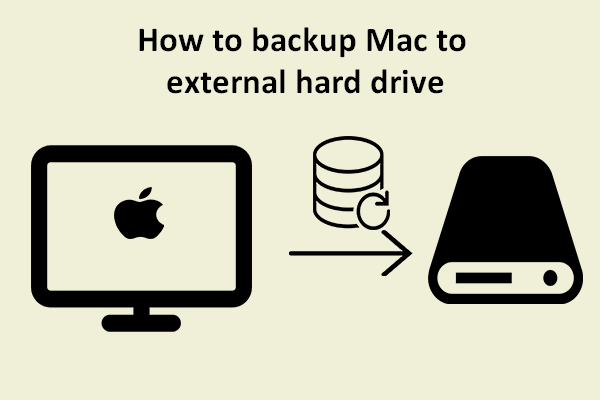
Not only can you back up Mac to NAS via Time Machine, but you can back up your files to a location like an external hard drive or Time Capsule. That way, if any failures occur on your Mac or internal disk, it is secure from losing data.
It’s recommended that you try MiniTool ShadowMaker to create a data backup in Windows. MiniTool ShadowMaker is a professional and powerful backup software and is most practiced in file backup, system backup, cloning HDD to SSD, and more.
MiniTool ShadowMaker TrialClick to Download100%Clean & Safe
Bottom Line
In this guide, we shared two available options and step-by-step tutorials for you to back up files from Mac to NAS using Time Machine. Beyond that, you should also consider using MiniTool ShadowMaker to backup data to an external hard disk if you are using a Windows PC rather than a Mac.

