When you try to upgrade to Windows 10, you may be stuck with the defaultuser0 user account. As you can see, you are unable to enter the defaultuser0 account since it’s locked and you can’t access Windows 10 at all. Don’t worry. This post from MiniTool Solution will show you 2 workable methods to fix this issue.
Most of Windows 7 and Windows 8 users have switched to Windows 10, but there might be issues while doing that. You may find your user account isn’t created and you are stuck with the defaultuser0 account. Don’t worry too much, there are a few solutions that you can try.
Solution 1: Enable the Hidden Administrator Account
The first method you can try is enabling the hidden administrator account in Windows. To do this, you’ll need Windows 10 DVD or USB with Windows 10 setup. Here’s a quick guide.
Step 1: Boot your computer with the Windows 10 DVD or USB.
Step 2: Select the proper language, time and keyboard input.
Step 3: Choose Repair your computer.
Step 4: Select Troubleshoot > Command Prompt.
Step 5: Enter this line: net user administrator /active:yes and press Enter to execute it.
Step 6: Restart your computer.
After that, you should have enabled the hidden administrator account. Right now, you are able to use the administrator account to create new user accounts and delete the defaultuser0 account.
Solution 2: Delete the Defaultuser0 Account
If enabling a hidden administrator account didn’t help you fix the problem, you can try to completely delete the respective user profile. How to delete account on Windows 10? Here are the instructions for you.
In Command Prompt
Firstly, you can delete the defaultuser0 account in Command Prompt. Here’s exactly what you need to do.
Step 1: Type cmd in the Search bar, navigate to Command Prompt and select Run as administrator.
Step 2: Once the User Account Control window pop up, click Yes.
Step 3: Then, type this line of command: net user /delete defaultuser0 and press Enter to execute it.
Step 4: Next, you need to delete its folder. Thus, go to C:\Users. Find the defaultuser0 folder here. Select it and press Delete key on the keyboard.
After that, check if this Windows 10 defaultuser0 error is solved.
In Local Users and Groups
In order to delete the defaultuser0 users, you can do that from the Local Users and Groups folder.
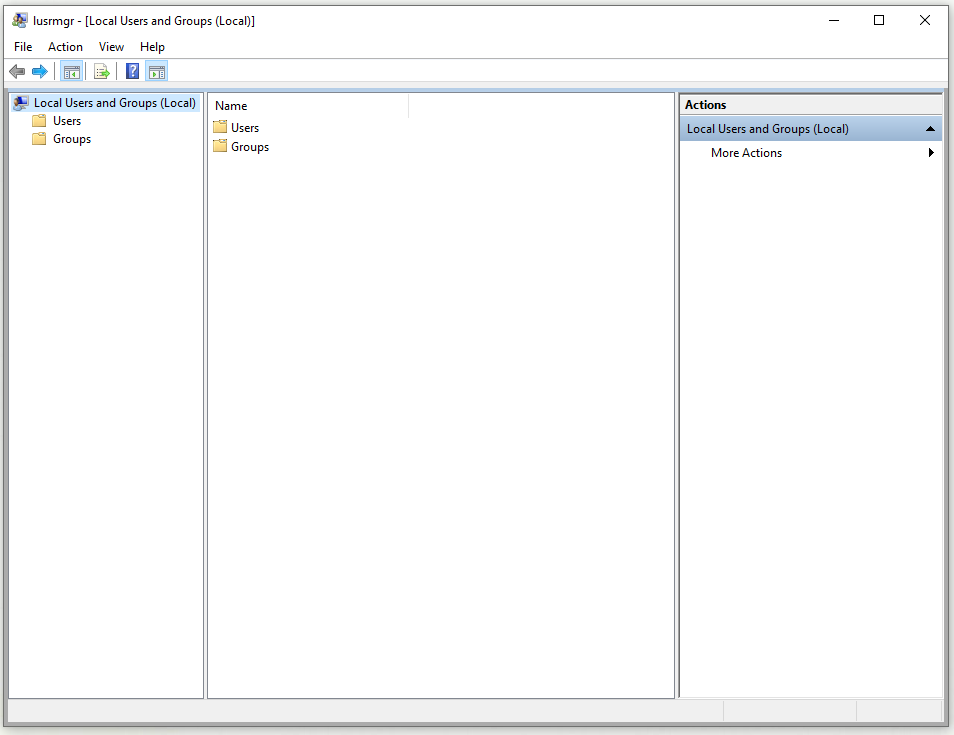
Step 1: Press the Win key + R key at the same time to open the Run dialog box. Next, type lusrmgr.msc in the box and press OK to open the lusrmgr – [Local User and Groups (Local)] window.

Step 2: From the left menu, click Users to expand it.
Step 3: Then, find the account named defaultuser0 on the right panel. Right-click it and click Delete from the context menu.
In Control Panel
You can also remove the defaultuser0 profile using Control Panel. This is what you need to follow.
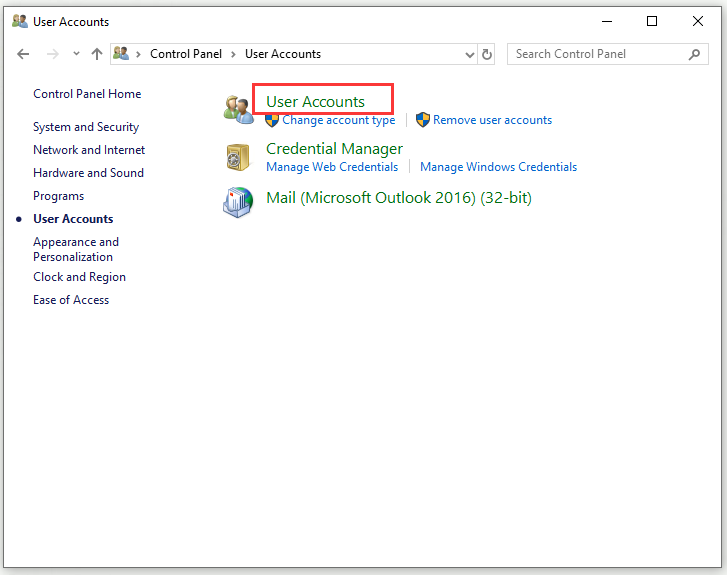
Step 1: Type control panel in the Search bar and select Control Panel to open it.
Step 2: The main screen of Control Panel will appear. Set View by: Large/Small icons and select User Accounts.

Step 3: Now, find the defaultuser0 profile and delete it.
After you finish deleting the defaultuser0 users, you should not be stuck with the defaultuser0 user account.
Bottom Line
Have you ever been stuck with the defaultuser0 user account when trying to upgrade to Windows 10? If yes, you should manage to fix this annoying issue after reading this post. It has shown you 2 useful methods.
