When you try to add an account in the Mail app on Windows 11/10, you may receive the error message - Something went wrong. We’re sorry, but we weren’t able to do that. Error code: 0x80070490. This post from MiniTool tells you how to fix the error.
Sometimes, when you want to add the Gmail account in the Mail app on Windows 10/11, you may receive the message – Something went wrong. We’re sorry, but we weren’t able to do that. Error code: 0x80070490. This can happen when adding a Gmail, Hotmail, Outlook, or any other email service provider.
Now, let’s see how to get rid of the error 0x80070490.
Fix 1: Update Mail and Calendar
To get rid of the error code 0x80070490, you can go to Microsoft Store to update the Mail and Calendar app. Follow the guide below:
Step 1: Go to the Microsoft Store app.
Step 2: Search for the Mail and Calendar app and click the Update button.
After updating the Mail and Calendar app, you can try to add the account to check if the error code 0x80070490 has been fixed. If not, try the next fix.
Fix 2: Check Your Privacy Settings
Windows 10/11 privacy settings may prevent you from accessing your Mail, thus, it’s recommended to check your privacy settings to fix the error code 0x80070490.
Step 1: Press the Windows + I keys together to open the Settings application.
Step 2: Go to Privacy > Email.
Step 3: Turn on Allow apps to access your email and allow apps to access your email and calendar.
Fix 3: Reset the Mail and Calendar App
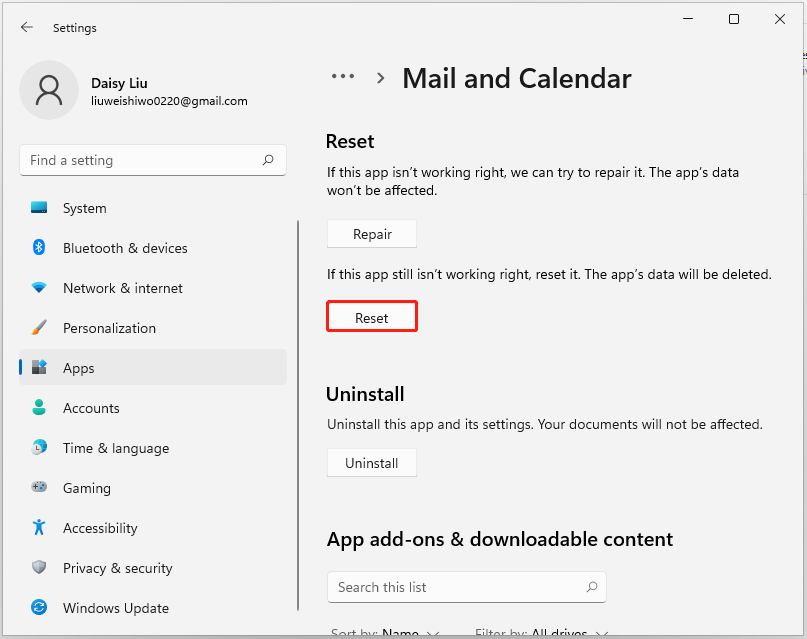
The next method for you to fix the error 0x80070490 is resetting the Mail and Calendar app. Here is how to do that.
Step 1: Open the Settings application again.
Step 2: Go to Apps > Mail and Calendar. Then, click Advanced options > Reset.

Fix 4: Reinstall Mail and Calendar
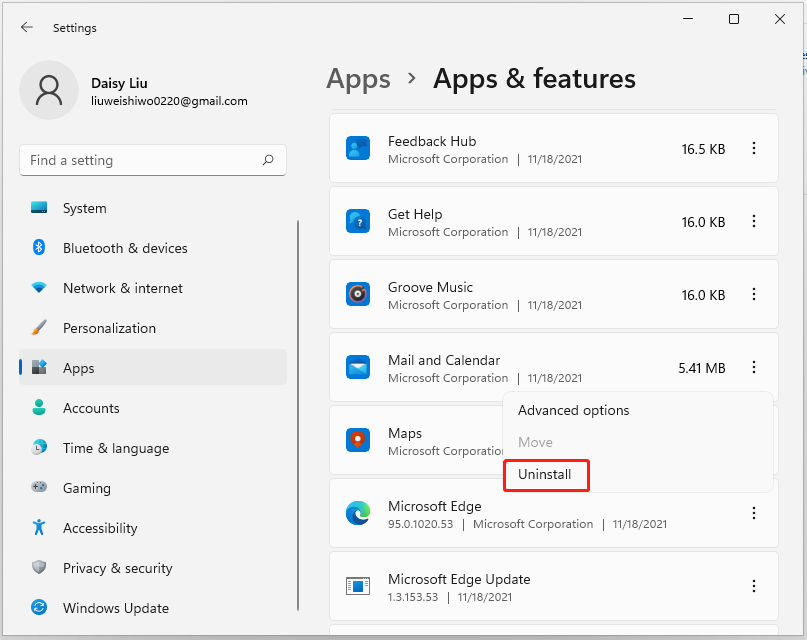
You can also try to reinstall Mail and Calendar to fix the error code 0x80070490.
Step 1: Open the Settings application again.
Step 2: Go to Apps > Mail and Calendar. Then, click Uninstall.

Step 3: Go to the Microsoft Store to download and install Mail and Calendar.
Fix 5: Enable the Built-in Administrator Account
You can also enable the built-in administrator account.
Step 1: Press the Windows + R keys to open the Run dialog box.
Step 2: Type cmd in the text field and press Ctrl+Shift+Enter to open the command prompt as an administrator. Click the Yes button to grant the admin access.
Step 3: Then type – net user administrator /active:yes and press the Enter key.
Step 4: Now close the Command Prompt window and then restart your PC. On start up, try to sign in to the administrator account.
Fix 6: Run SFC
Repair Windows system files with SFC (System Filer Checker)/DISM (Deployment Image Servicing and Management). Sometimes, this error code 0x80070490 is caused by corrupted Windows system files. Here are the steps to fix it:
Step 1: Input cmd in the Search box. Then right-click Command Prompt and select Run as administrator to open the command window.
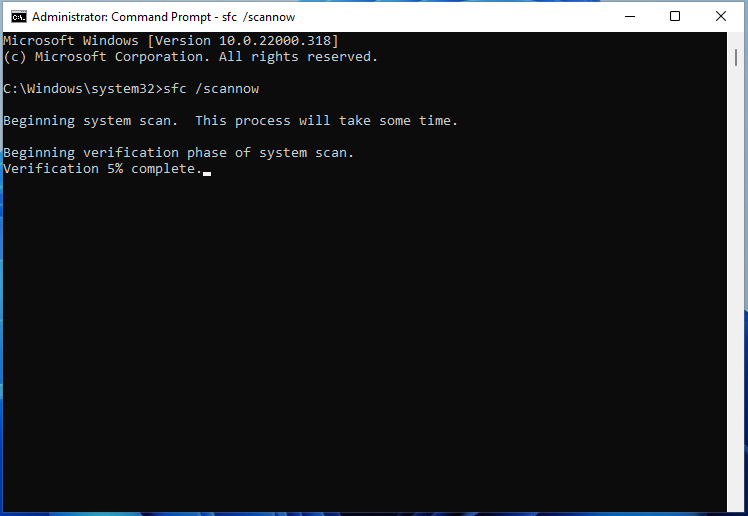
Step 2: Type the command sfc /scannow and then press Enter.

Wait patiently until the verification process 100% complete. Then reboot the computer to see whether the issue still exists or not.
If sfc /scannow command is unable to fix the reset issue on Windows 10/11, you can run DISM to fix the Windows system image. Type the following command and press Enter.
Dism /Online /Cleanup-Image /CheckHealth
Dism /Online /Cleanup-Image /ScanHealth
Dism /Online /Cleanup-Image /RestoreHealth
After that, you can check whether the error still persits or not.
Final Words
To sum up, this post has introduced 6 ways to get rid of the error code 0x8007049. If you come across the same issue, try these solutions. If you have any better ideas to fix this error, you can share it in the comment zone.

![CHKDSK vs ScanDisk vs SFC vs DISM Windows 10 [Differences]](https://mt-test.minitool.com/images/uploads/2020/03/chkdsk-vs-scandisk-vs-sfc-vs-dism-thumbnail.jpg)