What Is Intel SpeedStep Technology
What is Intel SpeedStep Technology? It is a feature that allows your processor to dynamically adjust its frequency and voltage based on workload and power conditions. It helps extend the laptop’s battery life and reduces heat, but also limits the performance of the processor.
Should You Disable Intel SpeedStep Technology
The performance of a system depends on three key factors: clock speed, battery or power consumption, and heat generation
- Processor Clock Speed: It is recommended to increase the processor clock speed when running intensive games. But you need to notice that high clock speeds can often damage the CPU and reduce battery health.
- Power or Battery Consumption: When dealing with batteries, you may not only consider battery percentage, but also its health. Intel SpeedStep helps in both cases by controlling clock speed and voltage to improve battery performance and manage its health.
- Heat Generation: Heat isn’t just bad for the battery, it’s also bad for the processor. This Intel SpeedStep Technology takes care of the heat generated by the processor, helping your system in the long run.
Since Intel SpeedStep Technology is not an essential system component, stopping its implementation will not cause problems for other programs and tools. But, disabling it may affect battery life and power consumption if used for power saving. However, if the Intel SpeedStep feature is not performing these functions for you, it is safe to disable it.

How to Disable Intel SpeedStep Technology
How to disable Intel SpeedStep Technology on Windows 11/10? Here are 2 ways for you.
Way 1: Via BIOS
To disable Intel SpeedStep Technology, you can via BIOS. Here are the steps:
Step 1: Press the Windows + I keys to open the Settings application.
Step 2: Go to System > Recovery. Under Advanced startup, click Restart Now.
Step 3: Click Troubleshoot and select Advanced options. Click UEFI Firmware Settings, and click Restart. The system will restart and enter the BIOS menu.
Step 4: Go to the Advanced tab and find the CPU Power Management Configuration option.
Step 5: Then, find the Intel SpeedStep Technology option or the Enhanced Intel SpeedStep Technology option. Use the +/- keys or Enter key to change it from Enabled to Disabled.
Step 6: Press F10 to save the changes.
Way 2: Via the Windows Power Option
You can also disable Intel SpeedStep Technology via the Windows Power option. Follow the guide below:
Step 1: Type Control Panel in the Search box.
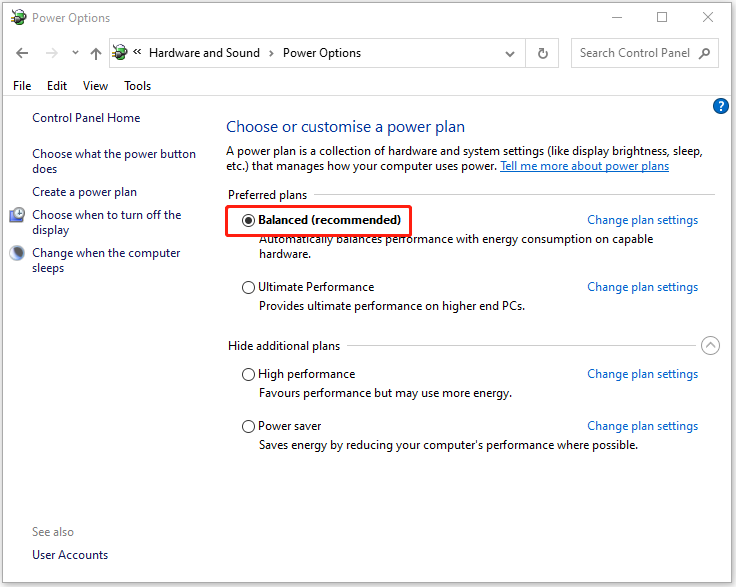
Step 2: Click the System and Security option and select Hardware and Sound. Then, click Power Options from the right pane.
Step 3: Select either the Balanced or Power save option. Click the Save option to save the changes.

Final Words
How to disable Intel SpeedStep Technology? This post provides answers for you. Besides, if you want to back up your system to protect it, you can try the computer backup program – MiniTool ShadowMaker.
About The Author

Position: Columnist
Having been an editor at MiniTool since graduating college as an English major, Daisy specializes in writing about data backups, disk cloning, and file syncing as well as general computer knowledge and issues. In her free time, Daisy enjoys running and going with friends to the amusement park.