Microsoft’s new operating system called Windows 11 has caught a lot of attention due to its brand-new UI design and new features. To know more, refer to What’s New for Windows: What’s New in Windows 11.
How to get Windows 11? Download an ISO file and make a Windows 11 bootable USB drive and install the system on your PC. In the following part, let’s focus on how to install Windows 11 from USB.
How to Install Windows 11 from USB
- Get a Windows 11 ISO file
- Create a Windows 11 bootable USB drive
- Install Windows 11 from a USB drive
Step 1: Get an ISO File of Windows 11
It is easy to download an ISO file of Windows 11 via the official website. See how to do this:
1. Visit the page – https://www.microsoft.com/en-us/software-download/windows11.
2. Scroll down to the Download Windows 11 Disk Image (ISO) for x64 devices section.
3. Choose Windows 11 (multi-edition ISO for x64 devices), click Download, choose a product lanuguage like English (United States), click Confirm and click the 64-bit Download button.
The downloading process of the ISO file could take some time. Wait patiently.
Alternatively, you can download Windows 11 Media Creation Tool from the Microsoft website and run it to get a Windows 11 ISO file.
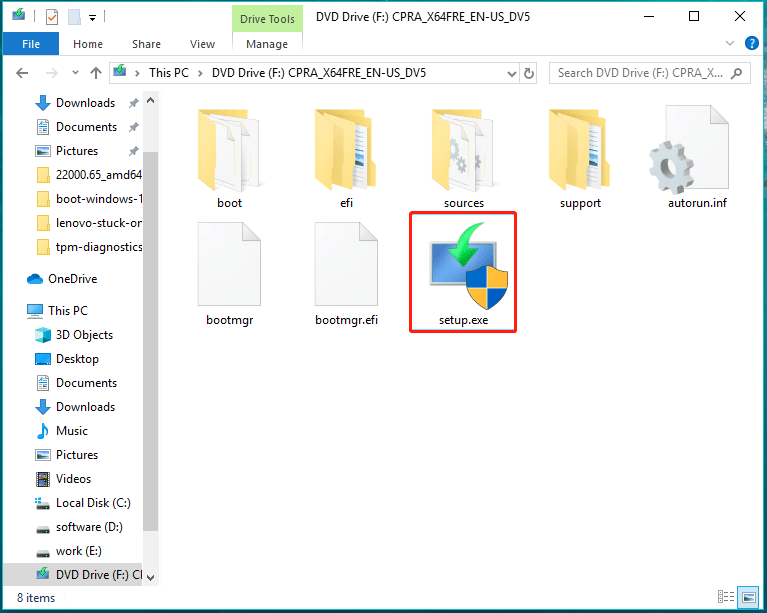
Step 2: Create a Windows 11 Bootable USB Drive
After getting the ISO file of Windows 11, now you should make a Windows 11 bootable USB drive.
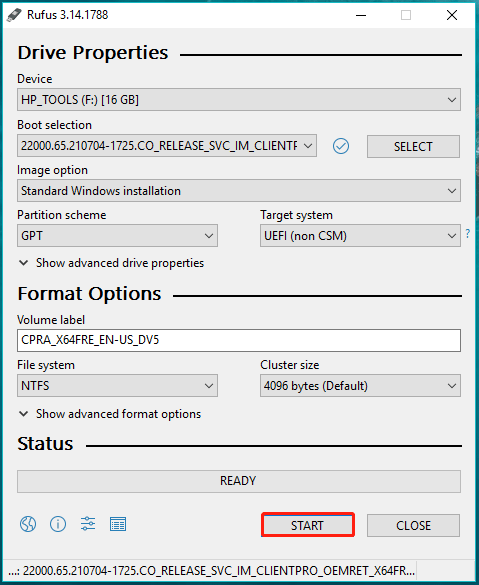
- Go to download Rufus and launch it on your PC.
- Plug in your USB flash drive and choose the ISO file of Windows 11 you have got. Make some settings for the drive.
- Click START to begin burning the ISO file to your USB flash drive.
Step 3: Install Windows 11 from USB
Everything is ready and it is time to start Windows 11 installation. Follow these instructions:
1. Make sure your USB flash drive is connected to your computer.
2. Restart the PC and press a specific key to enter the BIOS menu. To know more, refer to this article – [5 Ways] How to Get Into BIOS on Windows 11 on Restart.
3. Navigate to the Boot tab and use the arrow keys to select the USB flash drive as the first boot order.
4. Save the change and boot the PC from the bootable USB drive.
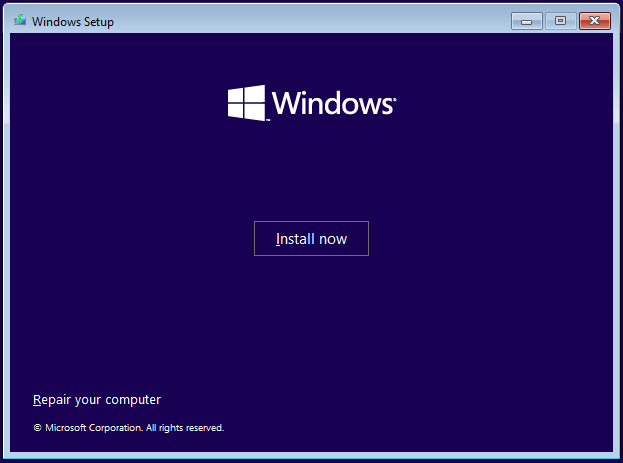
5. After a while, you will get the Windows setup interface. Just specify the language, time and currency format, and keyboard method.
6. Click Install now to continue.
7. Choose I don’t have a product key to go on.
8. Select the option of Custom to install Windows only.
9. Choose the partition in which you want to install Windows 11 and then start the installation.
The installation process will take some time, so be patient. After finishing the installation, you should make some settings for the new operating system.
Final Words
How can you install Windows 11 from USB? Three steps are necessary – get a Windows 11 ISO file, create a bootable USB drive and boot the PC from the drive to install Windows 11. Just follow the complete guide to start the task.
