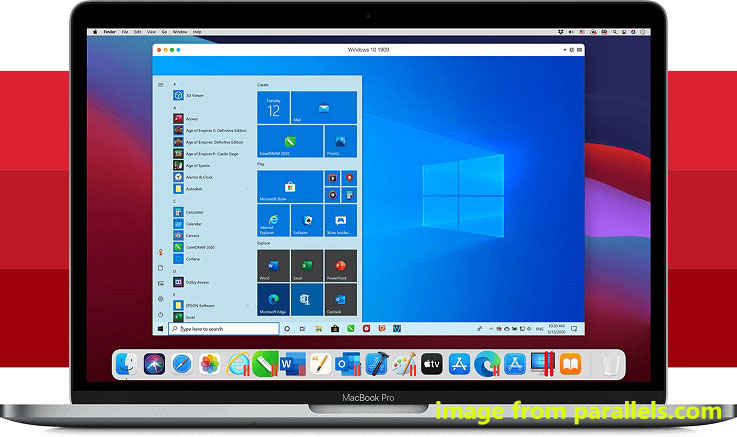
Thanks to Parallels Desktop 17 (the latest version of Parallels' virtualization suite), Windows 11 can now run on M1 Macs. If you want to know much information about Windows 11 on an M1 Mac, read this post and MiniTool Solution focuses on this topic with many details.
Parallels Desktop 17 Brings Windows 11 to Macs
Back in June, Microsoft launched Windows 11 that is similar to macOS in some aspects (related article: Windows 11 Looks Like macOS: Here’s Everything New Coming to PC). If you wish to try Windows 11 on a Mac, now Parallels narrows the gap in its latest update – Parallels Desktop 17 which makes it easy for Mac users to install this new operating system of Microsoft.
In earlier days, it is possible to run Windows 10 on Intel Macs with Apple’s Boot Camp. But now, things change. Parallels has offered Mac users a way to run Windows in a virtualized form in macOS for a long time. Now you can run Windows 11 on a Mac with Parallels Desktop 17.
What Is Parallels Desktop 17 Used for Windows 11
Parallels Desktop 17 is an application that can help you to run Windows on Mac without restarting. With it, you can seamlessly move and share data between Windows and Mac, access Microsoft Office, run more than 200,000 Windows programs in a Mac without any performance issues, and more.

Parallels Desktop 17 comes with must-have performance updates. It is optimized for macOS Monterey & Windows 11 and supports Intel and Apple M1 chip. That is, this program is available for Intel and M1 Macs to run Windows 11 Preview Build before the official release of this system.
But there is a problem when you run Windows 11 on an M1 Mac – only the ARM-based version of Windows 11 can be run, not the x86 Intel-compatible version. Besides, Intel-based Macs can run the x86 version of Windows 11. No matter which case you have, both Macs can run Windows 11 Insider Previews in Parallels.
The latest version of Parallels Desktop adds a virtualized TPM 2.0 module that is a system requirement to install Windows 11 final version. When this new operating system is released officially later this year, Parallels can run Windows 11 without any problem.
In addition to the support for new operating systems – Windows 11 and macOS Monterey, Parallels Desktop brings lightning speed, for example, Windows resume time reaches up to 38% faster. Besides, it brings better graphics performance, for instance, up to 28% faster DirectX 11 and up to 25% faster 2D graphics.
How to Create a Windows 11 Virtual Machine in Parallels Desktop
To run Windows 11 on an M1 Mac, you need to create a virtual machine (VM) with Parallels Desktop 17. How can you perform this task? Find the answer from the following paragraphs.
Step 1: If you have created a Windows 10 Insider Preview, you can easily upgrade to Windows 11 Insider Preview. If you don’t do it, register Windows Insider Preview via this link and download Windows 10 Insider Preview.
Then, download & install and open Parallels Desktop 17, and follow this help document – Install Windows or Linux on Mac with Apple M1 chip using Parallels Desktop to create a new VM with this ISO file you have got.
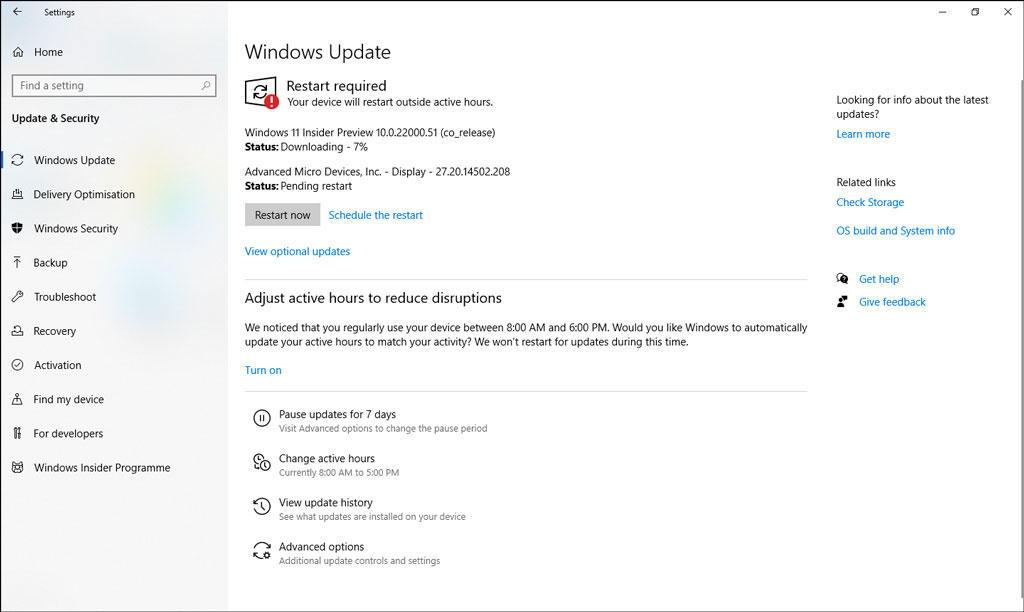
Step 2: In the new Windows 10 virtual machine, get a new Insider Preview in the Developer Channel via Windows Update. Here are two useful and related articles:
- How to Join the Windows Insider Program to Be a Windows Insider?
- How to Install/Upgrade to Windows 11 Insider Preview Build Safely

Step 3: While the virtual machine reboots, the Parallels Tools will install automatically. After Windows 11 restarts again, you have a Windows 11 VM. The whole process could take some hours depending on the Internet connection speed and the Mac speed.
Final Words
Windows 11 can now run on M1 Macs with the help of Parallels Desktop 17. After reading this post, you know much information about this app and know how to create a Windows 11 virtual machine in Parallels Desktop. Just follow the guide to run Windows 11 on an M1 Mac if you need.

