When you try to shut down your Windows 11, you may encounter the “Windows 11 won’t shut down” issue. This issue can be caused by several reasons. Now, you can read this post from MiniTool to find some solutions to get rid of the issue.
It’s annoying to encounter the “Windows 11 won’t shut down” issue. The following are some solutions to this issue.

Fix 1: Change Settings via Control Panel
First, you can try to change settings via Control Panel to fix the “Windows 11 not shutting down” issue. Here are the steps:
Step 1: Type Control Panel in the Search box and click Open to open it.
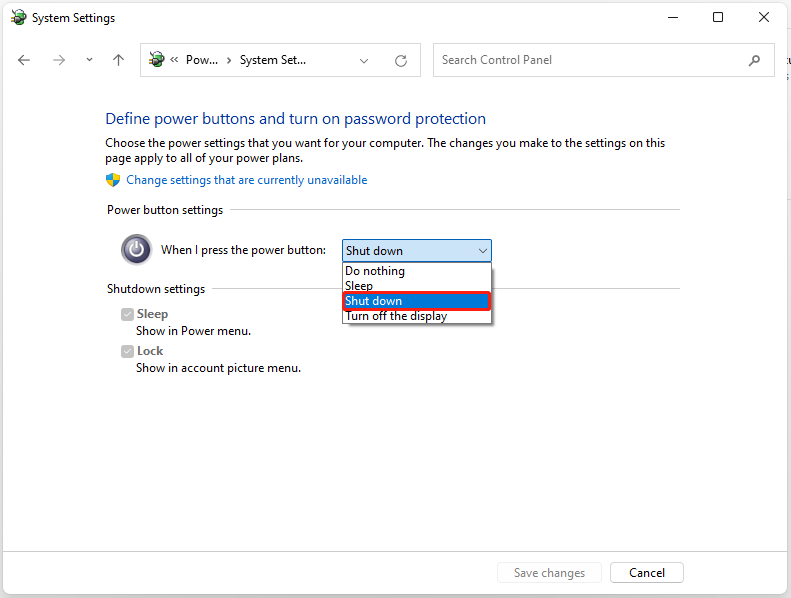
Step 2: Choose Hardware and Sound. Then, click Power Options > Choose what the power button does.
Step 3: Next, change the action to Shut down, and then select Save changes.
Fix 2: Try Other Methods to Shut Down Windows 11
Press and hold the physical power button until the computer shuts down. Even if a software failure prevents you from using the mouse or keyboard to shut down Windows 11, most computers will respond by pressing and holding the power button.
You can also press the Ctrl+Alt+Del keys together, then select the power icon, and then select Shut down.

Besides, you can use Command Prompt to shut down Windows 11. You just need to type shutdown /s and press the Enter key.
Also see: How to Shut down or Restart Your Windows 11 Computer?
Fix 3: Perform a System Restore
If the above solutions are not working, you can try to perform a system restore to fix the “Windows 11 PC won’t shut down” issue. You need to notice that only if you have created system restore point, you can try this method. Follow the guide below to do that:
Step 1: In the start menu, search for create a recovery drive and open it. This will lead you to the system protection tab in the system properties.
Step 2: Then, click system restore. Now select the restore point to which you want to restore your system.
Step 3: Click the Scan for affected programs button. This will tell what changes will be made. This will let you know what apps will be removed or added to your system because they were added or removed after creating the restore point.
Step 4: Then, click Next to continue with system restore. Once done, click Finish, and then close the window. This will restore your system to the system restore point.
Fix 4: Run Windows Update
The last method for you to fix the “Windows 11 won’t shut down” issue is to run a Windows update. Here are the instructions.
Step 1: Open the Settings app by pressing the Win + I keys on the keyboard.
Step 2: Navigate to Update & Security > Windows Update. If there are updates that are available, Windows will start checking for updates automatically and then download & install on your computer. After downloading, Windows needs to restart several times to finish the installation.
Final Words
How to fix the “Windows 11 won’t shut down” issue? After reading this post, you know much information. If you have any ideas, send an email to [email protected] or leave a comment below.
About The Author

Position: Columnist
Having been an editor at MiniTool since graduating college as an English major, Daisy specializes in writing about data backups, disk cloning, and file syncing as well as general computer knowledge and issues. In her free time, Daisy enjoys running and going with friends to the amusement park.