For a Lenovo laptop or desktop, Lenovo factory reset from boot is just a breeze. Here MiniTool offers a comprehensive guide on how to reset Lenovo to its default settings from boot. As well, a tip to protect data is introduced here.
Why Lenovo Factory Reset from Boot Windows 11/10
A factory reset, just as its name implies, includes erasing all the settings, system files, data & applications and reverting the PC to its original default state it was in when it left the factory.
For Lenovo laptops or desktops, Lenovo factory reset can be a good option in some situations.
- Troubleshoot some problems: When your Lenovo PC has an issue or error that cannot be solved using other methods, resetting the device to its default settings could be the last resort.
- Optimize the PC performance: In case your PC always keeps freezing or crashing for no reason or runs slowly, a factory reset does wonders in optimizing the device for optimal performance.
- Erase personal data in some situations: Before selling, giving away, discarding, recycling, or disposing of this device, you may perform a factory reset to delete all the disk data to avoid data leaks.
In terms of Lenovo factory reset Windows 10/11, there are multiple options for you to choose from in various situations, such as using the Reset this PC feature, running Lenovo OneKey Recovery (accessed by the Novo Button), or running a CD/USB flash drive. If your PC fails to boot, a Lenovo factory reset from boot is recommended.
What to Do Before Lenovo Factory Reset Windows 10/11
Before Lenovo factory reset Windows 10 from boot or factory reset Windows 11, make sure you have backed up your important files and folders since the operation could erase your data. You can back up your documents, pictures, videos, downloads, and more to an external hard drive or a USB flash drive.
For data backup, we strongly recommend running MiniTool ShadowMaker. It includes many rich features, making it a handy backup software for file/folder backup, system backup, disk backup, and partition backup. If you wish to create automatic backups and incremental or differential backups, MiniTool ShadowMaker can do a favor.
When your system cannot load the desktop, you can also run this backup tool to backup files and folders on that condition you have a bootable USB drive created by this software’s Media Builder feature. Now no hesitation, get MiniTool ShadowMaker Trial Edition to have a try.
MiniTool ShadowMaker TrialClick to Download100%Clean & Safe
See how to back up Lenovo in the event of it being unbootable:
Step 1: Connect a USB flash drive to a working PC, run MiniTool ShadowMaker Trial Edition, and tap on Keep Trial to continue.
Step 2: Under the Tools tab, tap Media Builder.
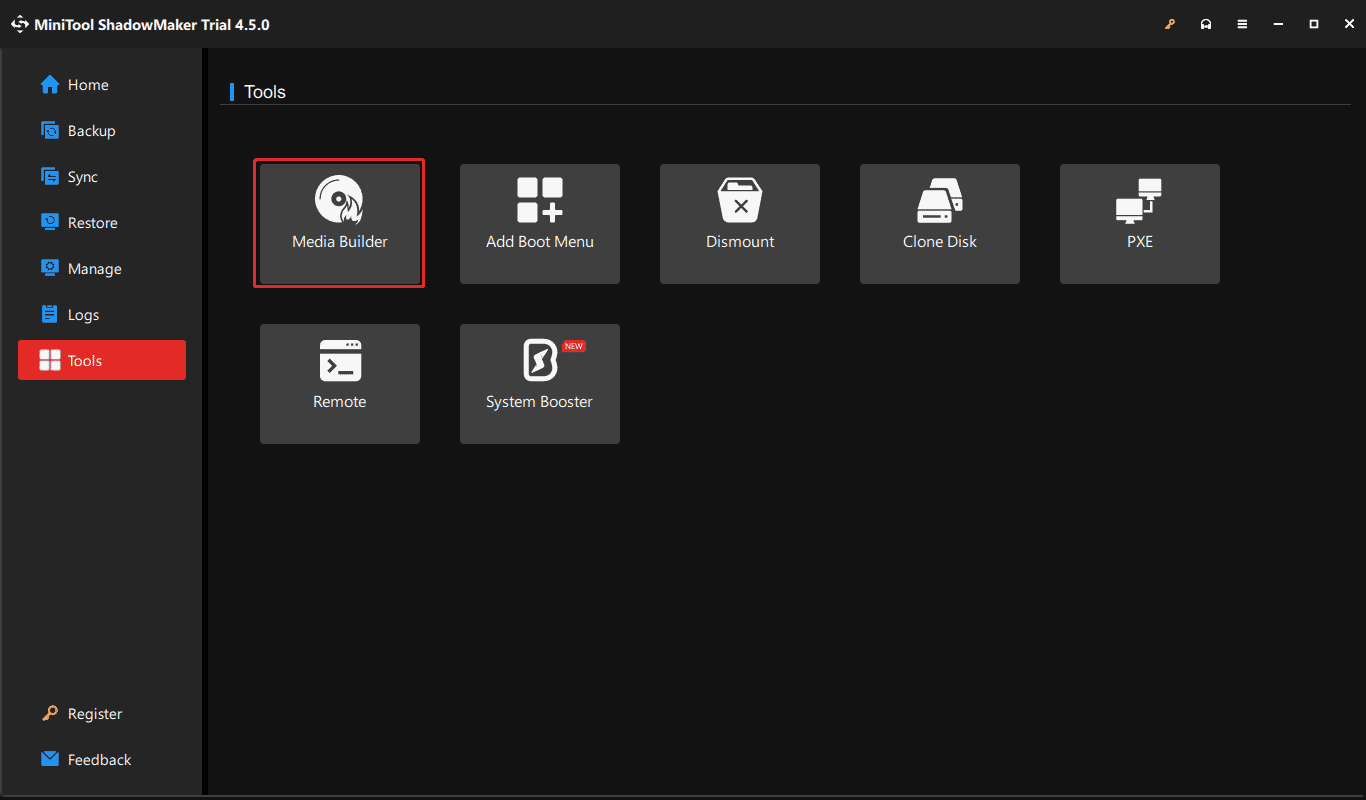
Step 3: Click on WinPE-based media with MiniTool plug-in. Then, choose your USB drive and start creating a bootable drive.
Step 4: Once done, disconnect this USB drive and plug it into your non-working Lenovo.
Step 5: Restart this device and repeatedly press F2 to enter the BIOS menu. Then, choose the correct boot drive and start up Windows from the USB drive.
Step 6: Now you enter the MiniTool recovery environment. Launch MiniTool ShadowMaker, go to Backup, tap on Source > Folders and Files, choose the items you need to back up, and click OK.
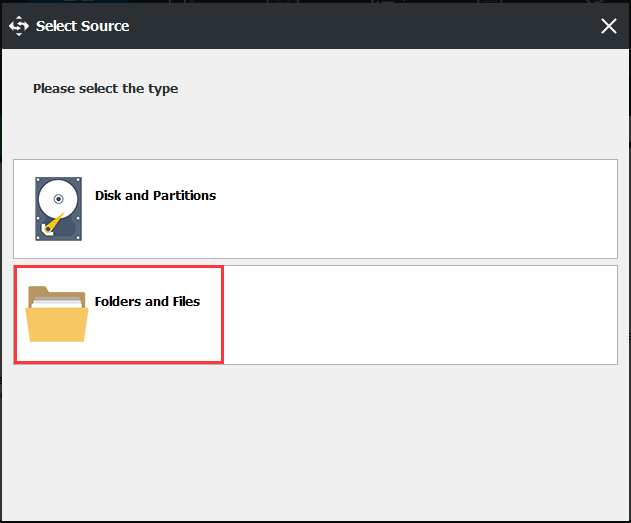
Step 7: Choose a path like an external hard drive or USB drive to save the backup image file.
Step 8: Hit Back up Now to begin file backup.
Next, it is time to factory reset Lenovo laptop from boot in Windows 11/10.
How to Run Lenovo Factor Reset from Boot Windows 11/10
In Windows 11 and 10, there is a simple and straightforward way to reset your PC to the factory state – via the Settings app. But this approach requires a bootable Windows system. In case the machine won’t boot, follow the step-by-step guide below to begin Lenovo factory reset Windows 10 from boot or Windows 11 factory reset from boot.
Step 1: Force your laptop to Automatic Repair: shut down the Lenovo device, press the Power button to turn it on, and press this button again when seeing the Windows logo or Lenovo logo to power off it to interrupt the boot process. Repeat this step three times and on the third boot, a screen saying Prepare Automatic Repair will show.
Step 2: Hit Advanced options in the Automatic Repair interface to access Windows Recovery Environment (WinRE).
Step 3: Click Troubleshoot > Reset this PC.
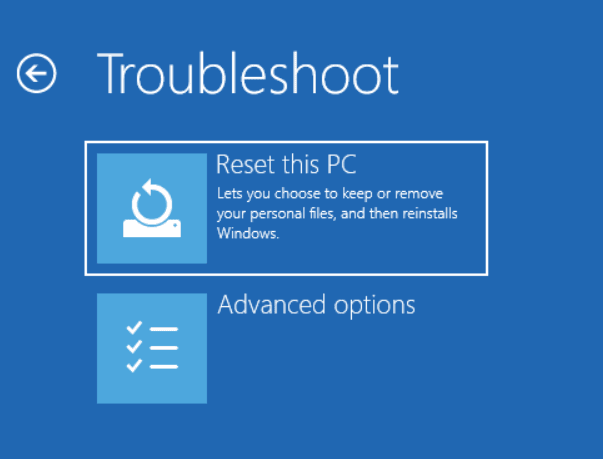
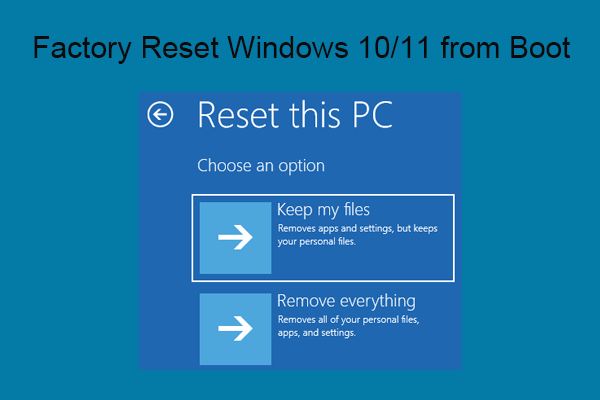
Step 4: Choose an option to reset as per your situation: Keep my files or Remove everything. For example, choose the first option if you only need to reinstall Windows to boost PC performance or fix some issues; remove everything when you need to sell, donate, or recycle the computer.
Step 5: Decide how you would like to reinstall Windows 10/11 and just click Cloud download or Local reinstall to proceed.
Step 6: To continue, choose Just remove my files or Full clean the drive. You had better choose the second option before giving away the Lenovo laptop.
Step 7: Hit Reset and your PC begins resetting itself to the default settings. Once completed, you need to re-set up your computer by following the instructions on the screen according to your needs for use.
Final Words
Lenovo factory reset from boot is necessary for various situations and you can find some in this guide. Before resetting your Lenovo PC to factory settings, remember to back up data using MiniTool ShadowMaker. Then, follow the given step-by-step guide for this task in Windows 11/10.
Besides, this way, you can perform a factory reset via other options, and some are offered in this tutorial – How to Factory Reset Lenovo Laptop Without Password.
