You may have heard of PrimeOS (also used Prime OS) in case you like to play Android games on a PC. In this post, MiniTool will offer a stepwise guide on how to install Prime OS on Windows 11/10 for a dual-boot to have a PC-like experience with your Android games.
About PrimeOS
PrimeOS, refers to an operating system based on Android, making it compatible with traditional PC hardware. It is tailored for personal computers with a familiar and friendly user interface that resembles a typical Windows environment. Suppose you install Prime OS on Windows 11/10. Then, you can apply Android apps and games with keyboard and mouse guides on huge screens.
Also, PrimeOS adds the multi-window support feature so that you can run multiple apps at the same time and offers customization options to personalize your desktops with themes, wallpapers, and widgets.
So, how can you install Prime OS alongside Windows? Here is a comprehensive guide to do a favor.
Also read: How to Install Android on VirtualBox [A Step-by-Step Guide]
Back up Files in Advance
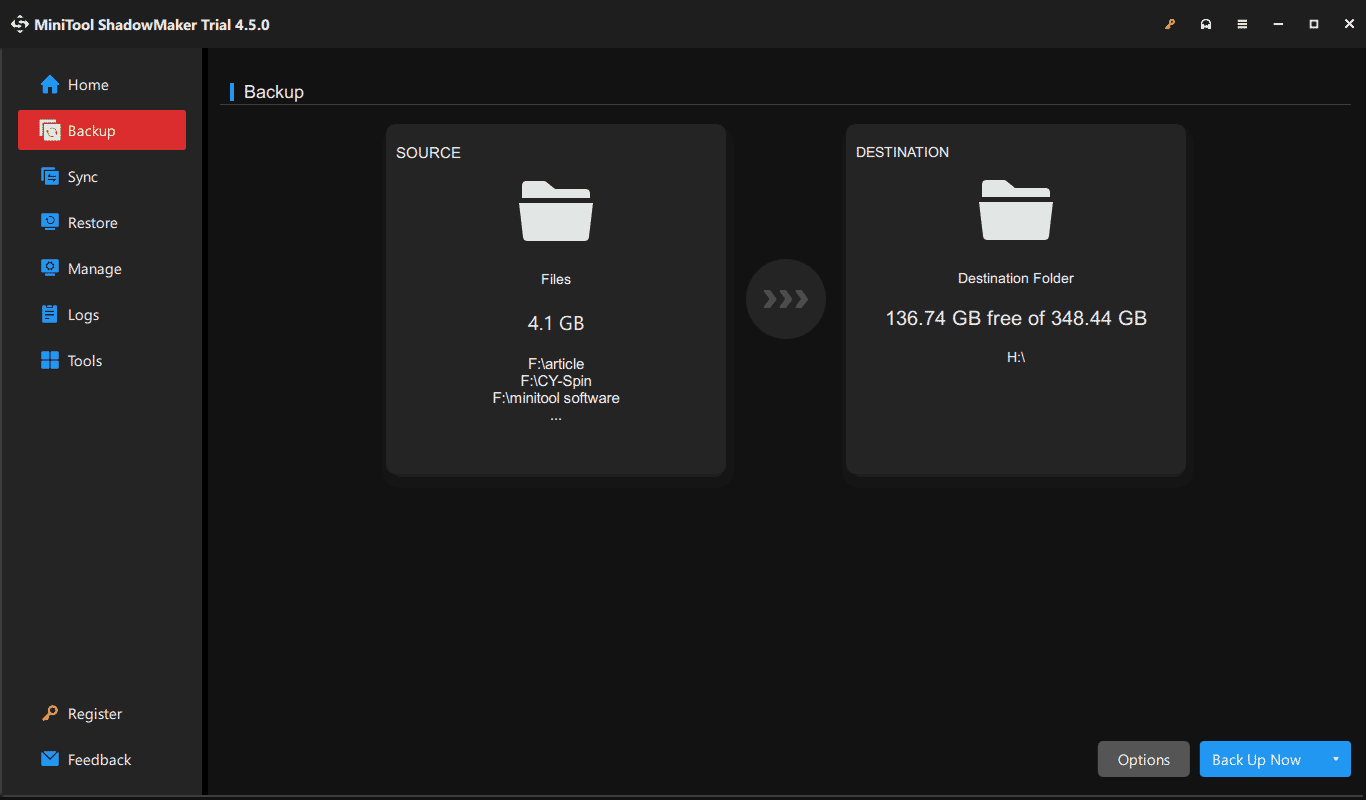
As nobody knows what will happen during the installation of a dual-boot, to be on the safe side, you had better back up some essential files before proceeding to avoid potential data loss. For data backup, use MiniTool ShadowMaker, the best backup software for Windows 11/10/8/7 that provides rich features including file backup, disk backup, partition backup, and system backup.
MiniTool ShadowMaker TrialClick to Download100%Clean & Safe
Just download, install, and launch MiniTool ShadowMaker, go to its Backup page to choose what to backup and a target path, and then start the backup task. For details, see this guide – How to Backup PC to External Hard Drive/Cloud in Win11/10.

How to Install Prime OS on PC Windows 11/10
It’s time to install Prime OS on Windows after making a backup. Take several steps here now.
Prime OS Download for PC
First, prepare a Prime OS ISO file for the installation. To do this, visit the official website: https://www.primeos.in/download/, choose x86 under Device, select a version, choose .ISO under Type, and click Download Now.

Create Bootable USB
To dual boot Prime OS with Windows 11/10, it is necessary to prepare a bootable USB flash drive to boot the PC for the setup process.
Step 1: Connect your USB drive to the PC, get Rufus online, and launch it.
Step 2: Hit SELECT to add the downloaded Prime OS ISO, configure some options like GPT from Partition scheme, and click START.
Step 3: Check the first option – Write in ISO Image mode and hit OK to begin creating the bootable USB drive.
Create a Partition for PrimeOS
Make sure you create a new partition for PrimeOS – go to Disk Management, right-click on a partition, and choose Shrink Volume to allocate some free space (suggested minimum size is 16GB), then create a new partition on the unallocated space.
Install Prime OS on Windows 11/10
Everything now gets ready and you should begin the installation process.
Step 1: Plug the bootable USB drive into your Windows 11/10 PC, restart it, press a boot key like F2, Del or another one based on your PC brand to access BIOS, set USB as the first boot order, and boot the machine from USB.
Step 2: From the Grub menu, choose the PrimeOS Installation option to continue.
Step 3: Choose a partition to install PrimeOS and select a file system like Ext4 to go on.
Step 4: Confirm the installation. When finished, you can reboot the machine and two boot options are for you. Select PrimeOS or Windows as per your needs.
The End
That’s information on how to install Prime OS alongside Windows 11/10. To dual boot these two systems, follow those steps carefully to complete the installation. Hope that this tutorial helps a lot.

